
This is a beginner tutorial for people who have never used the Ultimaker 2 before. This step-by-step will guide you in creating your first Ultimaker 2-made items!
LOCATION
The Prototyping Lab at IDM (Room 337) offers three Ultimaker 2s for use. The smallest, the Ultimaker 2 Go, is located inside the lab and is only available during lab hours. The two larger machines are located in the annex just outside, to the right of the lab, and can be used any time.
SAFETY
To use the Ultimaker 2 the first step is attend a Proto Lab safety training.
Whenever using the Ultimaker 2 make sure to interact with the machine carefully. The nozzle and build plate operate at high temperatures.
MATERIALS AND SUPPLIES
Materials are available for use in the Proto Lab.
2.85 mm PLA material should be set up in the machine already, if you wish to change the color ask the Proto Lap TA for assistance.
SD cards are inserted in the front of the printers and can be used. Card readers are also available at the Ultimaker stations.
PROCESS
(SOFTWARE PROCESS:)
Step 1: Export your CAD / 3D design over to Cura by clicking “Open File.” It must be in an .STL, .3MF, or .OBJ file format.
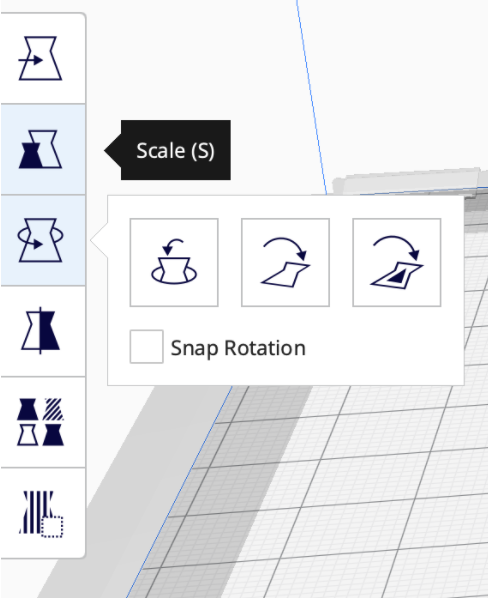
Step 2: Your design should be visible in the program. There are several options to adjust its positioning, including mirroring, scaling, and rotating.
Step 3: On the sidebar to the right, make sure the Ultimaker printer is matched with the one you desire to use. If your desired printer does not appear, you can add it.
Step 4: Select the nozzle and material you wish to use. Make sure they are aligned with the nozzle and material present in the printer.
Step 5: Select a print speed. The quality and speed of the product are inversely proportional; the longer the printing time takes, the more detailed your object will be.
Step 6: Select “Generate Support” if your object has overhanging parts that could collapse mid-build. Select “Build Plate Adhesion” to generate a flat rim around the product that can be easily trimmed off.
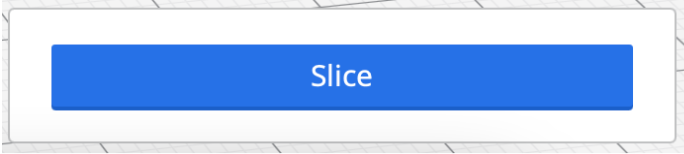
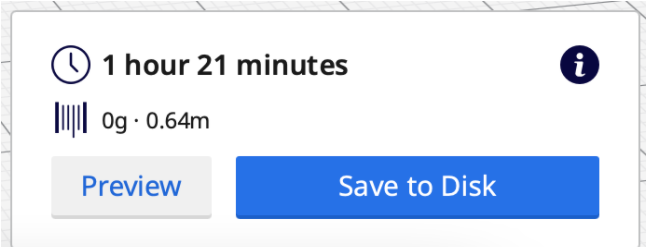
Step 7: Slice then save to either Removable Drive if using an SD Card, or File if printing wirelessly.
(PRINTING PROCESS:)
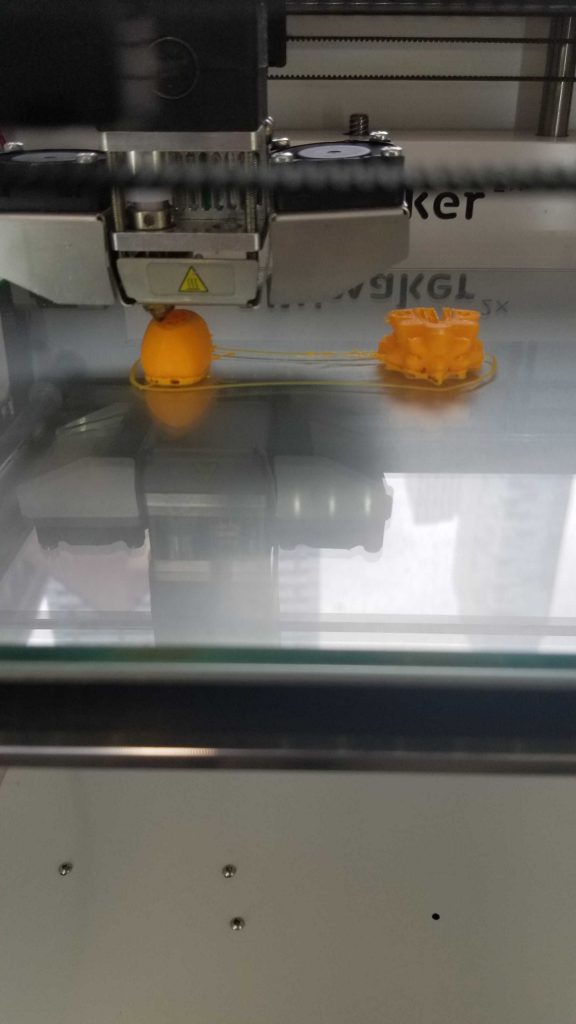
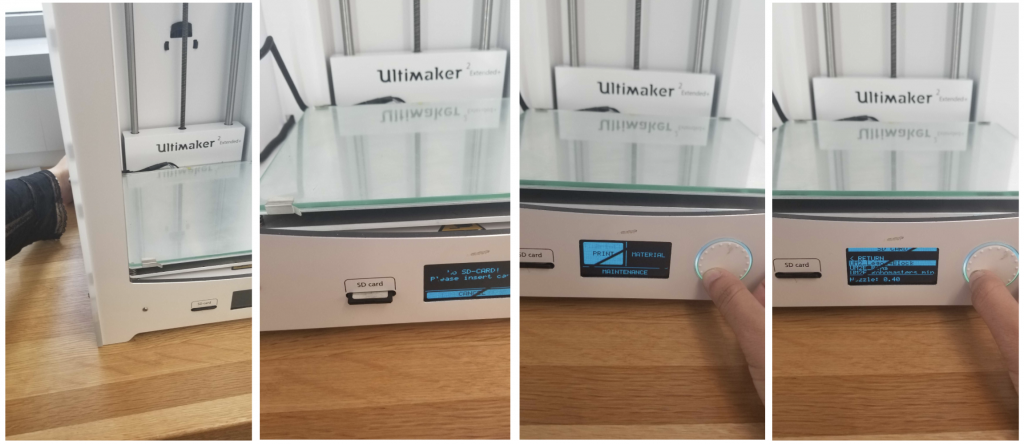
Step 8: Head over to the Printer. Turn it on, insert your SD Card, and select “Print.” Select your file, and watch the first 5 layers. It will take approximately 10 minutes; here is where the print malfunctions most.
Step 9: Once you are certain your print will continue with minimal problems, you can leave. In the MakerSpace, you can print during the day for up to 4 hours. Any more, and it must be printed overnight.
If you decide to leave while your print is in process, please leave a sticky note on the front of the machine with your name, email address, and estimated print time.
Step 10: Once printing’s over, remove it from the printer, shave off the adhesion if there is any, and enjoy!
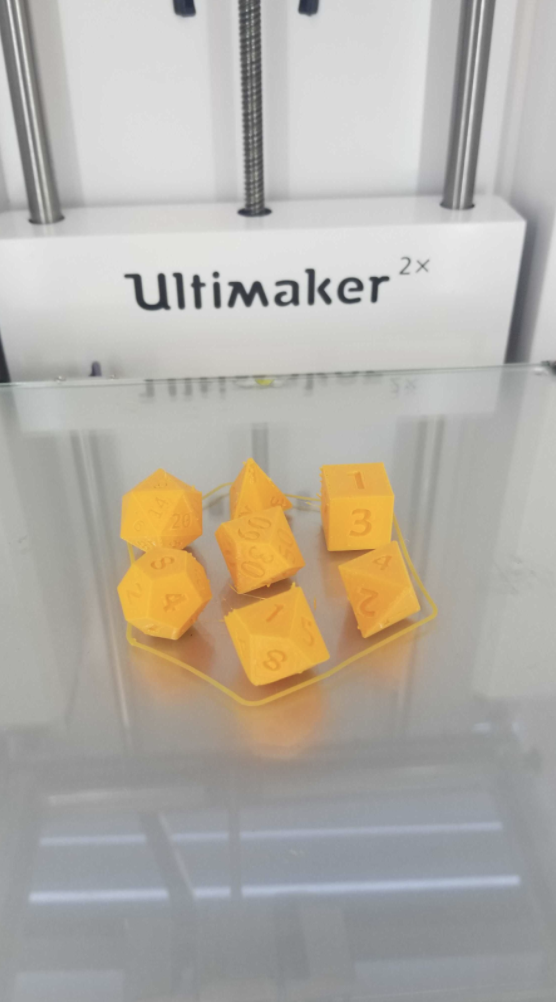
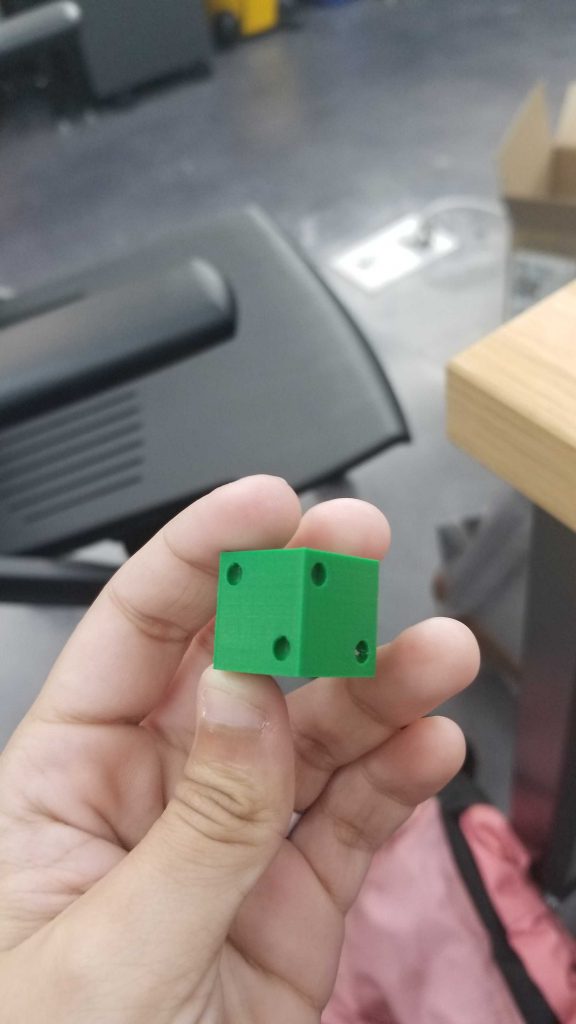
GALLERY