
This is a beginner tutorial for people who have never used the Curio before.
This step-by-step will guide you in creating your first Curio-made items!
Curio Manual
Link to Silhouette Studio Software Download
We recommend you use your own computer, but if you need to the ProtoLab has a laptop with Silhouette Studio on it available for use.
Protolab Silhouette Studio account:
Username: idmprotolab@gmail.com
Password: $IDMprotolab2020
LOCATION
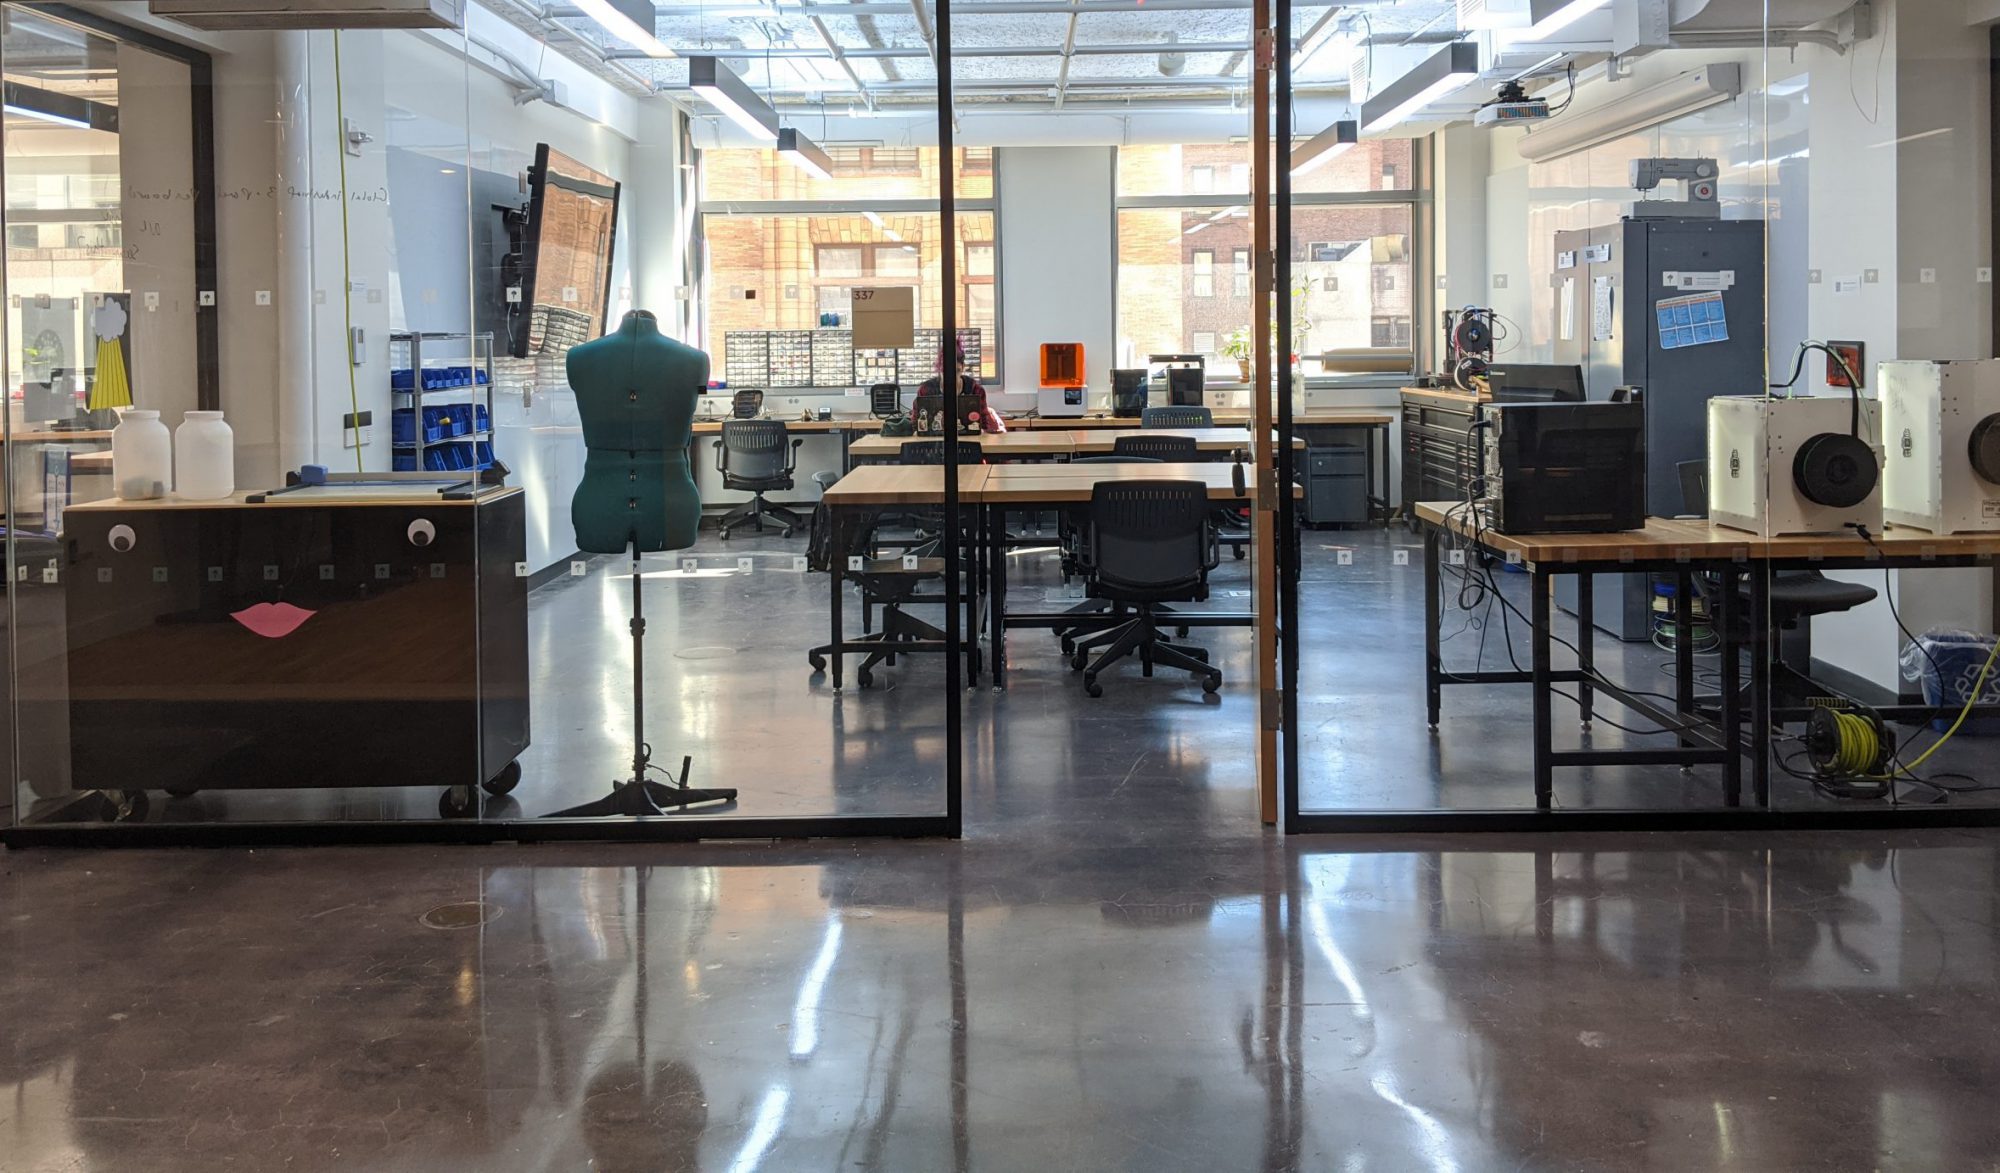
The Prototyping Lab at IDM (Room 337) offers 1 Curio for use during lab hours.
SAFETY
To use the Curio the first step is attend a Proto Lab safety training.
Whenever using the Curio make sure to be careful of your fingers and the blade tip.
MATERIALS AND SUPPLIES
Vinyl sheets, and paper are available for use in the Proto Lab.
You may bring your own materials to cut, but they must be approved by on duty technician.
SOFTWARE
To print your project, a file will have to be made and sent from Silhouette Studio, as the Curio only recognizes .studio3 filetypes.
PROCESS
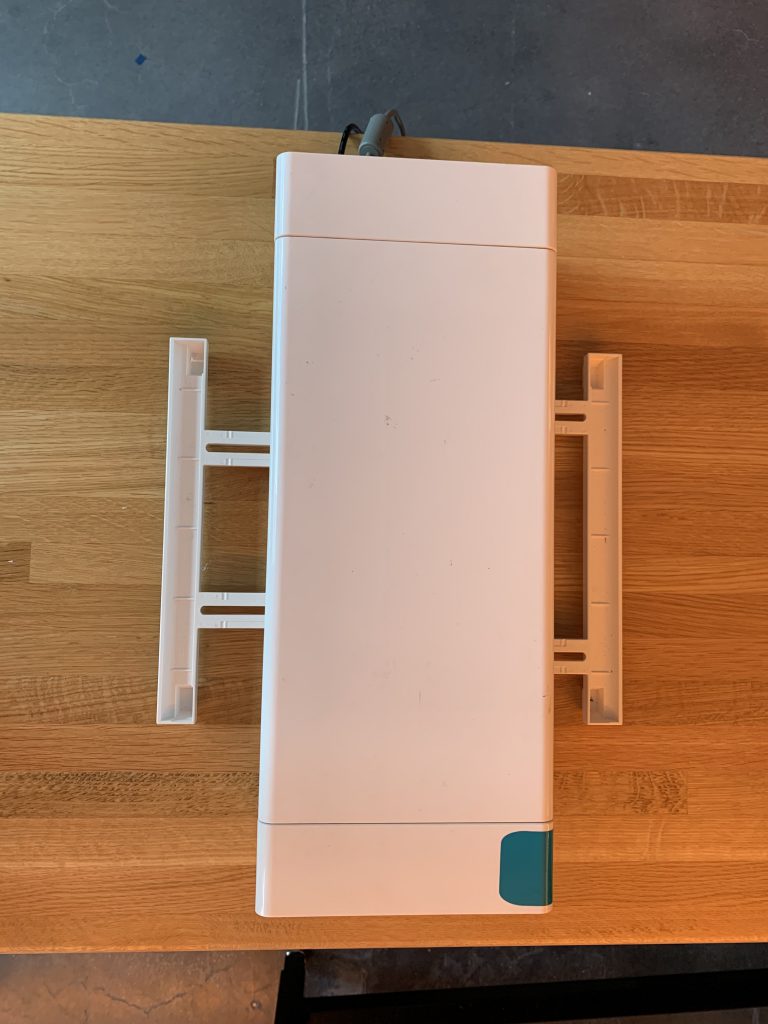
- Remove tray before powering on
- Extend out the machine’s legs for stability
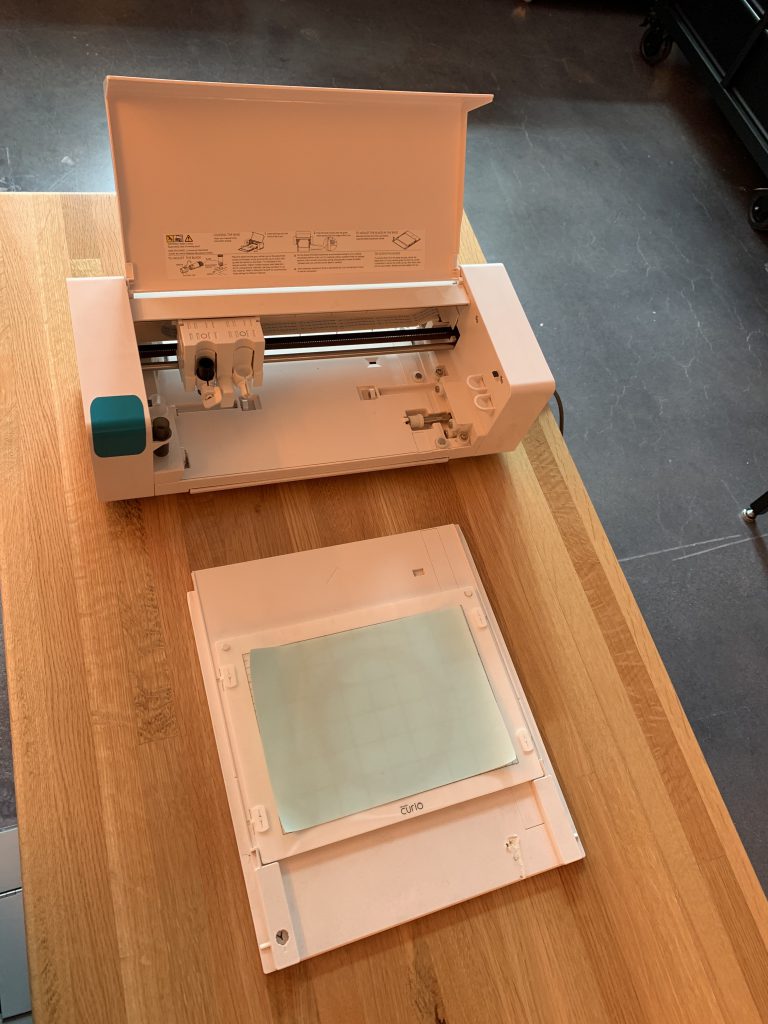
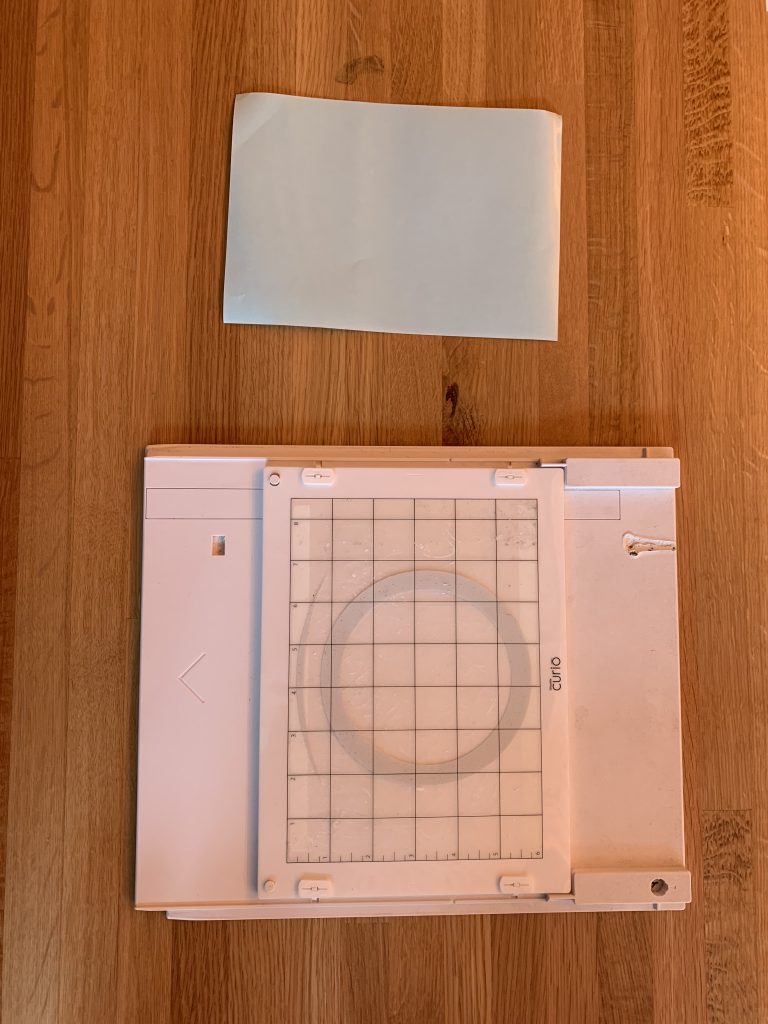
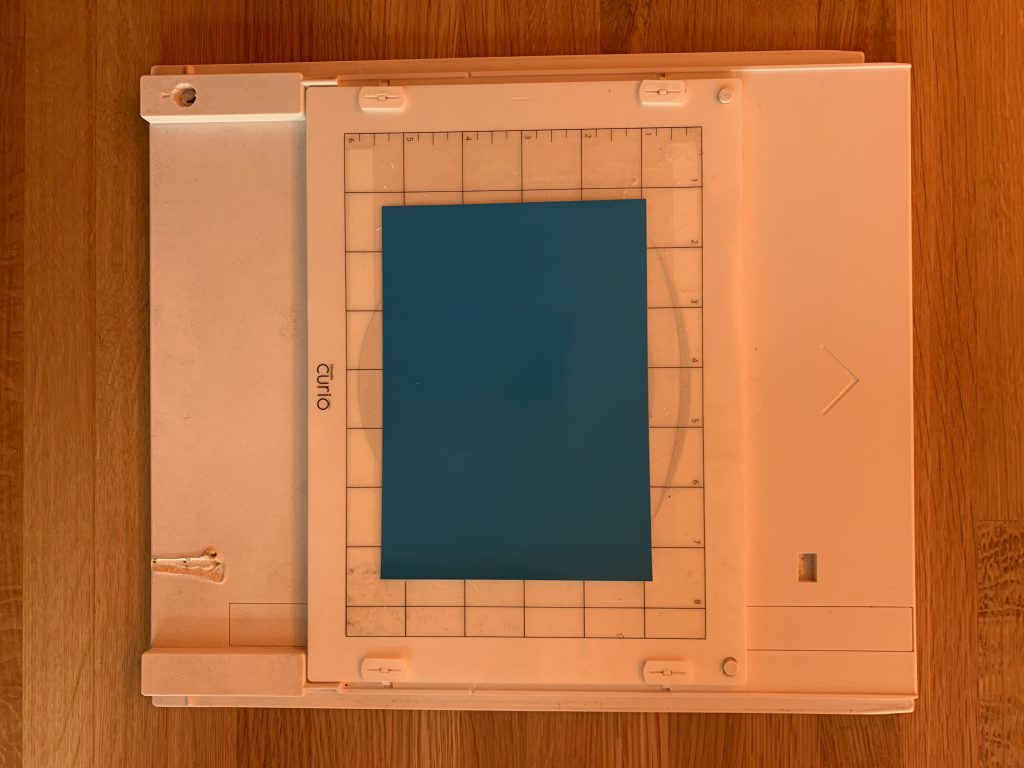
- Remove the protective film from tray (put back when done)
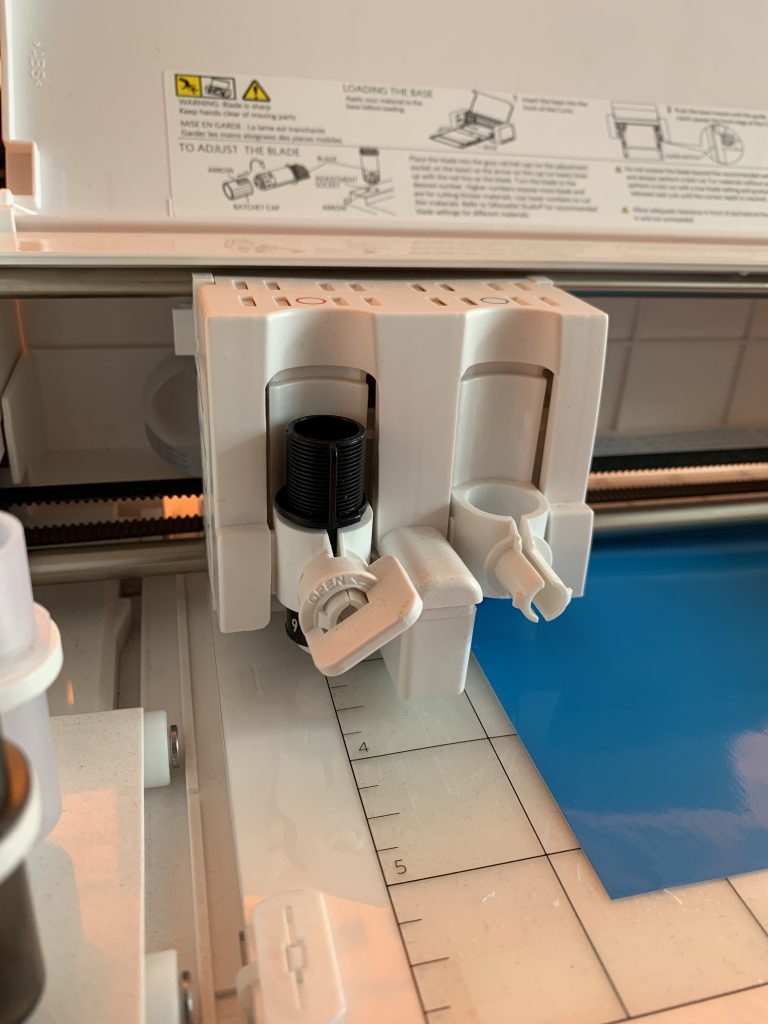
- Place desired cutting material on tray, then slide into machine (powered off)
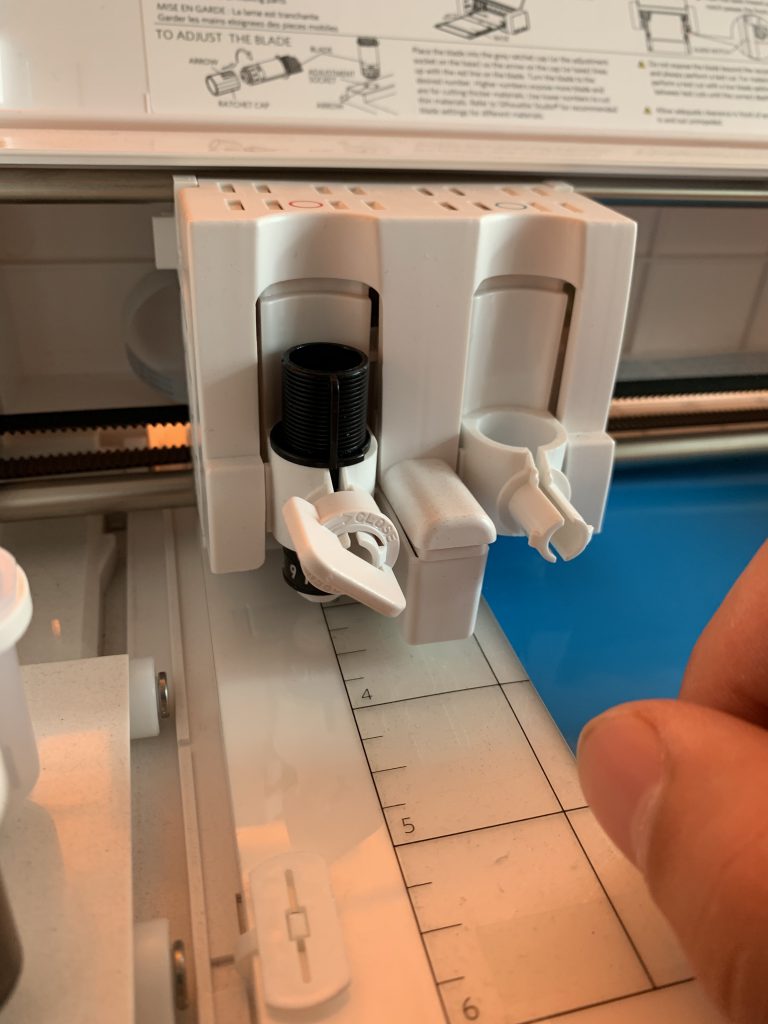
- Within the machine, twist the lock and remove the blade in order to adjust it
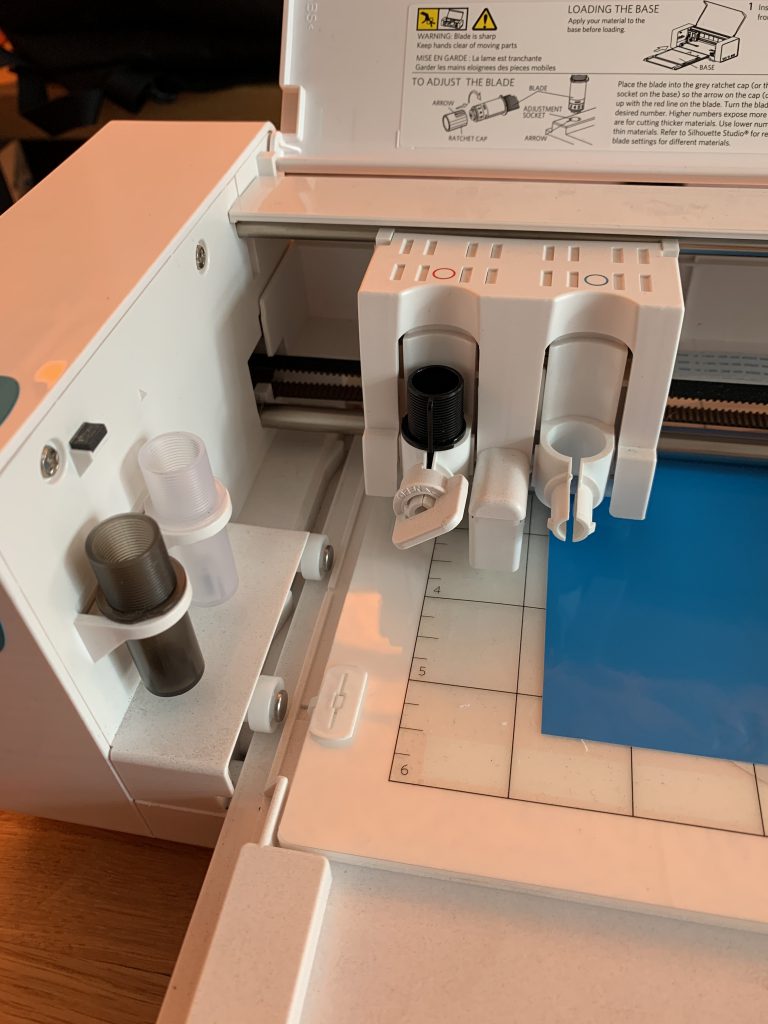
- Align red marking with arrow and twist to desired blade size
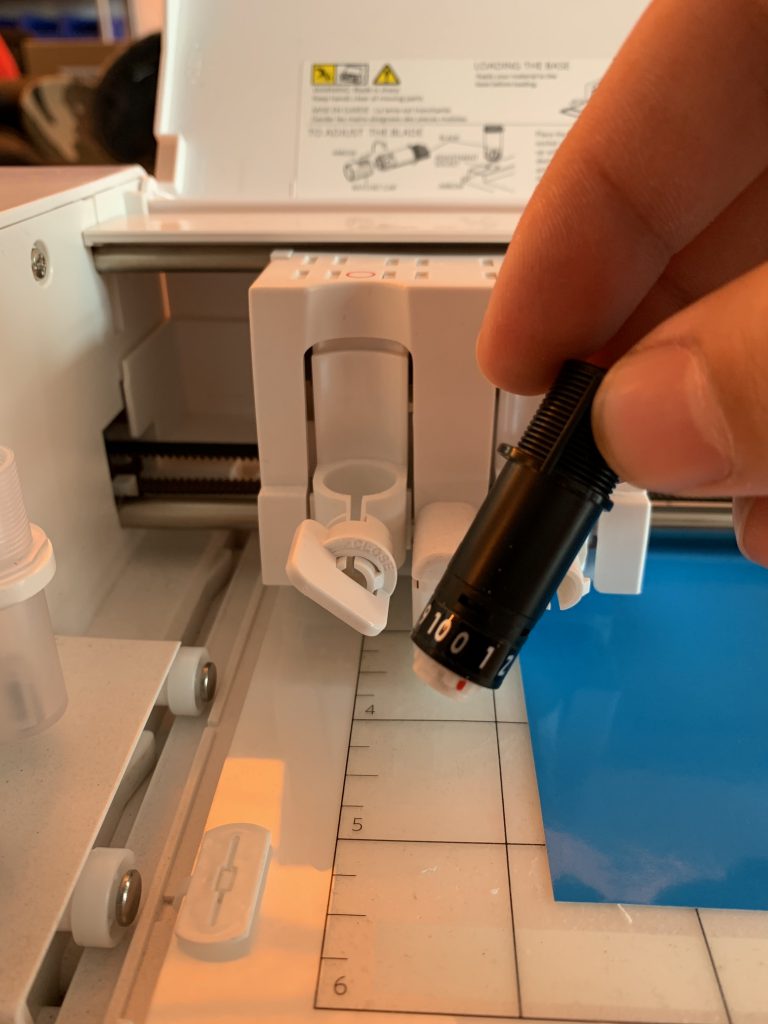
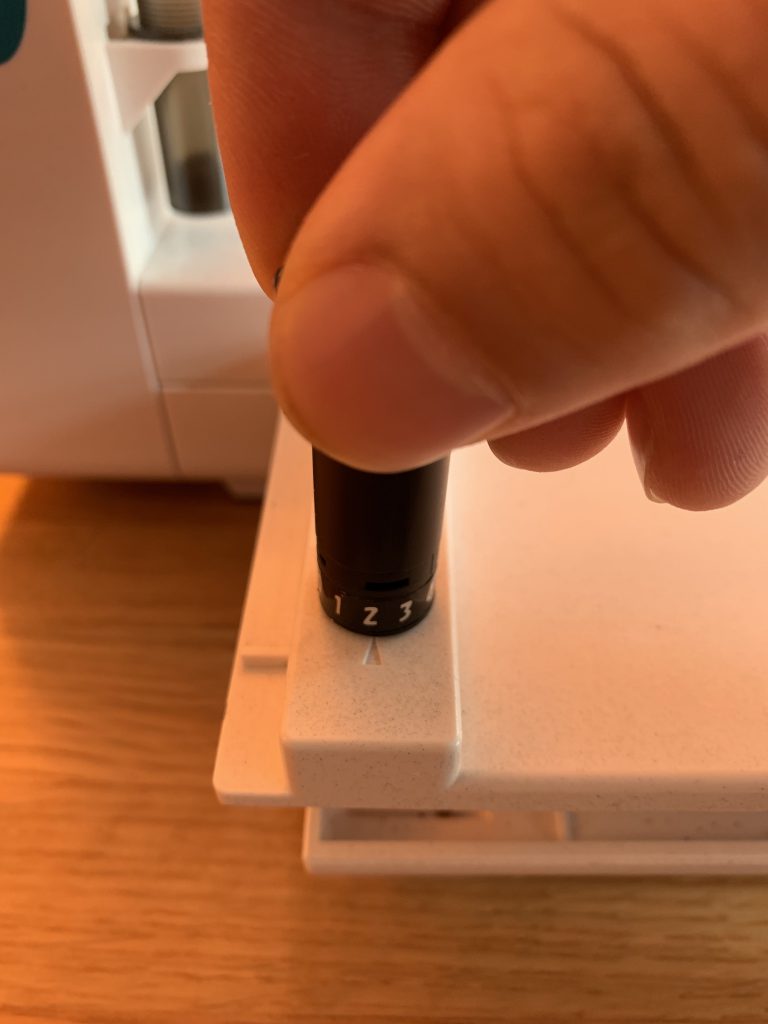
- Put blade back in place and twist the lock
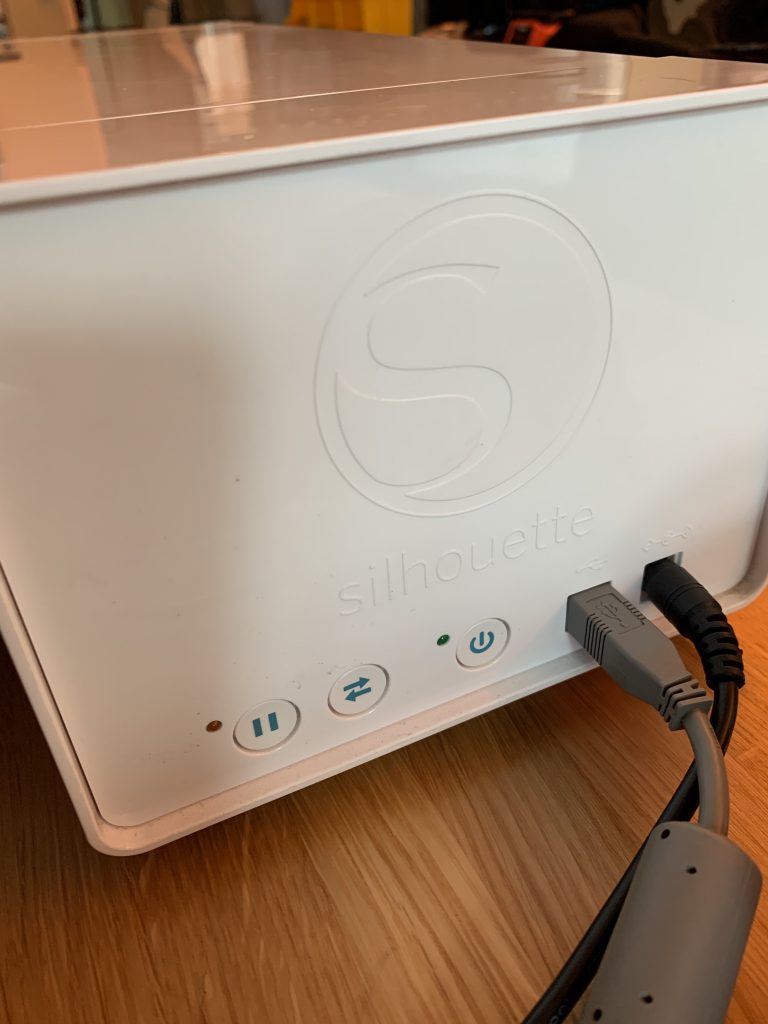
- Power on Silhouette and plug into your computer
- Notice the button with arrows, to the left of the power button – once pressed, this button allows you to remove (and insert) the tray while the machine is powered on.
SOFTWARE PROCESS
- Make sure the machine is plugged in to both a power outlet and your computer.
- Open Silhouette Studio.
- Import your design and/or make one in the program.
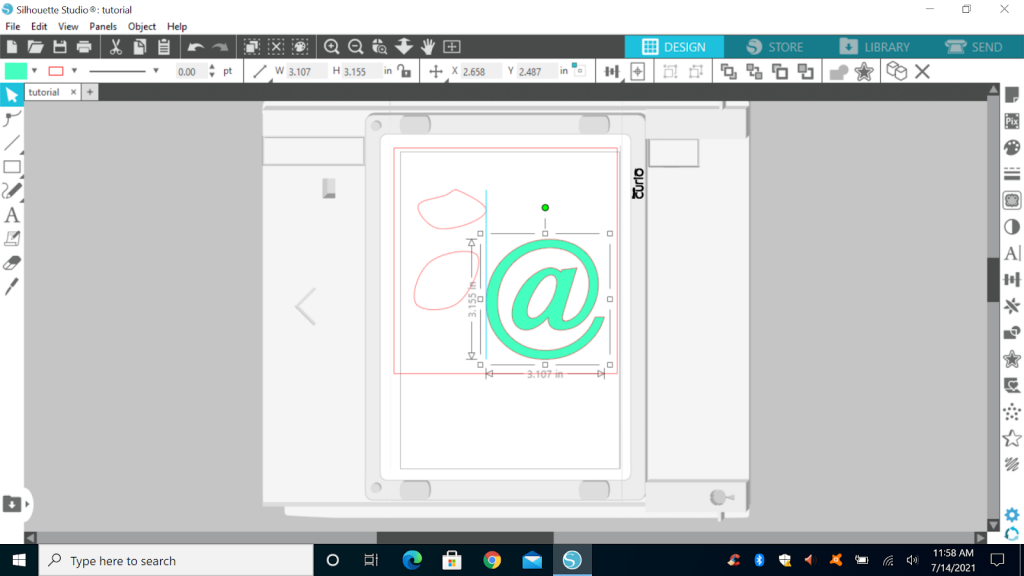
- Make sure the material is aligned on the printing grid.
- Either click “Send to Silhouette” under the File tab or click “Send” on the top right where “Library” and “Store” is. The latter will let you customize the options.

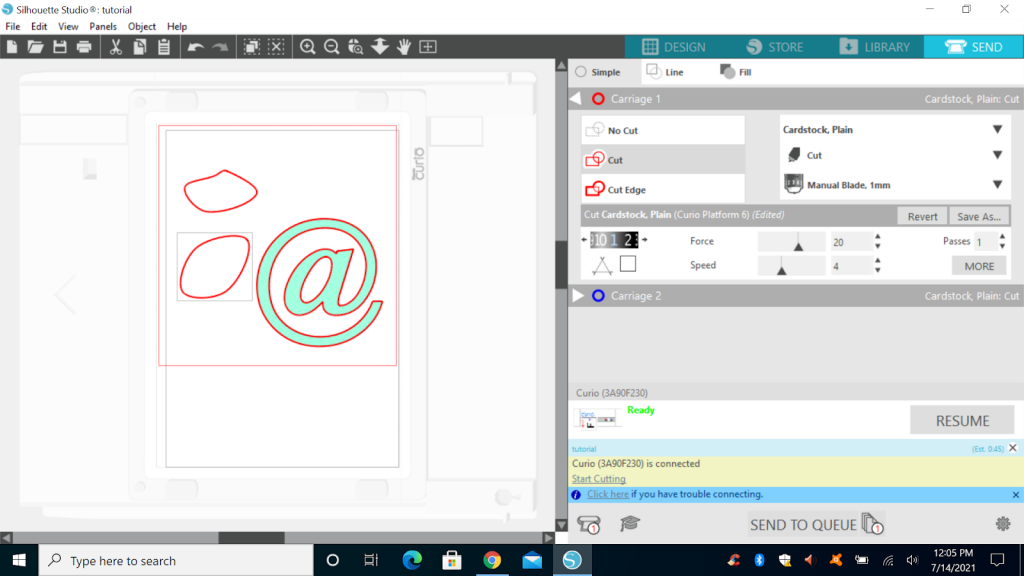
- When the cutter is “Ready to cut”, click it and watch the magic happen!