How To Use The Silhouette Curio Vinyl / Paper Cutter

This is a beginner tutorial for people who have never used the Curio before.
This step-by-step will guide you in creating your first Curio-made items!

Curio Manual
Link to Silhouette Studio Software Download

We recommend you use your own computer, but if you need to the ProtoLab has a laptop with Silhouette Studio on it available for use.

Protolab Silhouette Studio account:
Username: idmprotolab@gmail.com
Password: $IDMprotolab2020

LOCATION

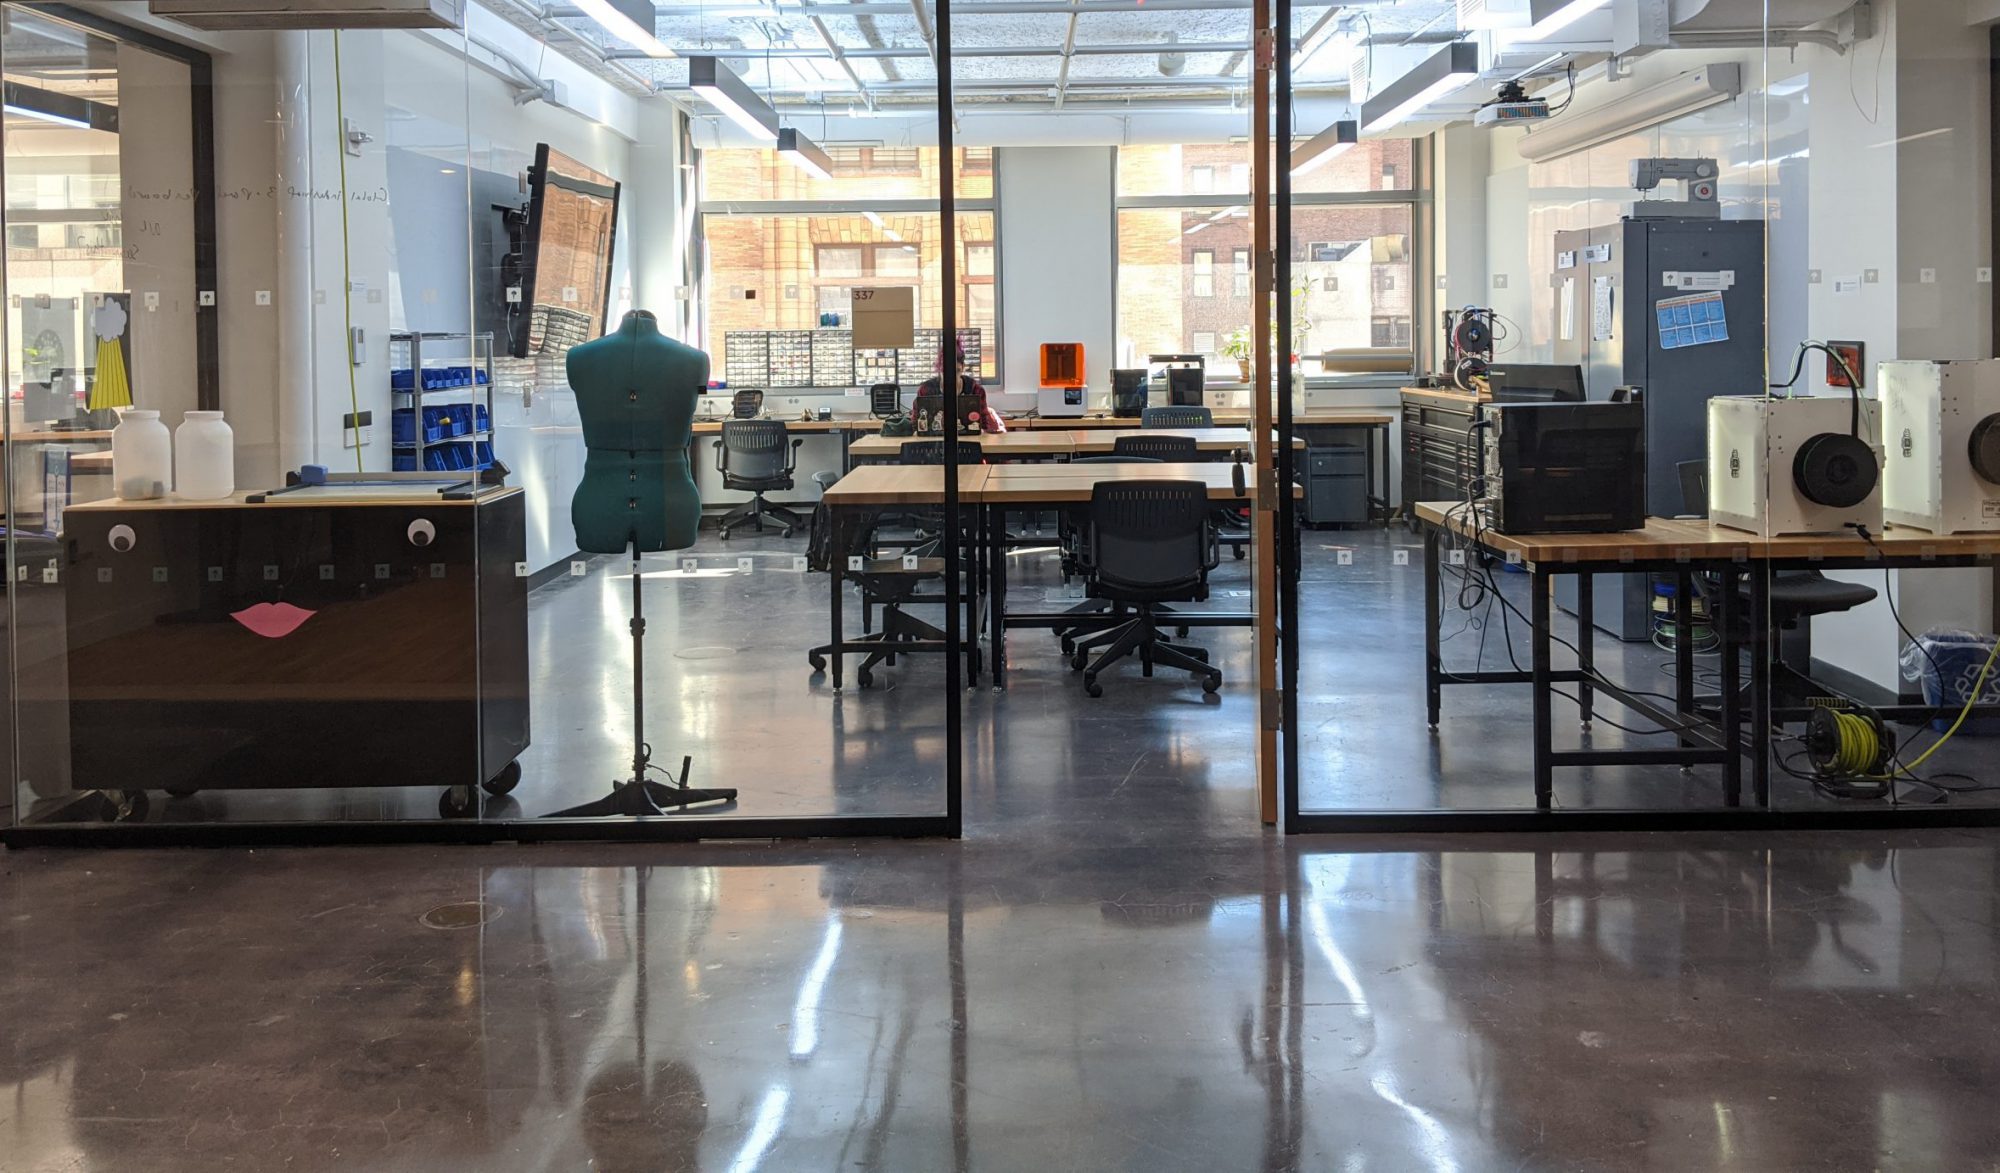
The Prototyping Lab at IDM (Room 337) offers 1 Curio for use during lab hours.

SAFETY

To use the Curio the first step is attend a Proto Lab safety training.

Whenever using the Curio make sure to be careful of your fingers and the blade tip.

MATERIALS AND SUPPLIES

Vinyl sheets, and paper are available for use in the Proto Lab.
You may bring your own materials to cut, but they must be approved by on duty technician.

SOFTWARE

To print your project, a file will have to be made and sent from Silhouette Studio, as the Curio only recognizes .studio3 filetypes.

PROCESS

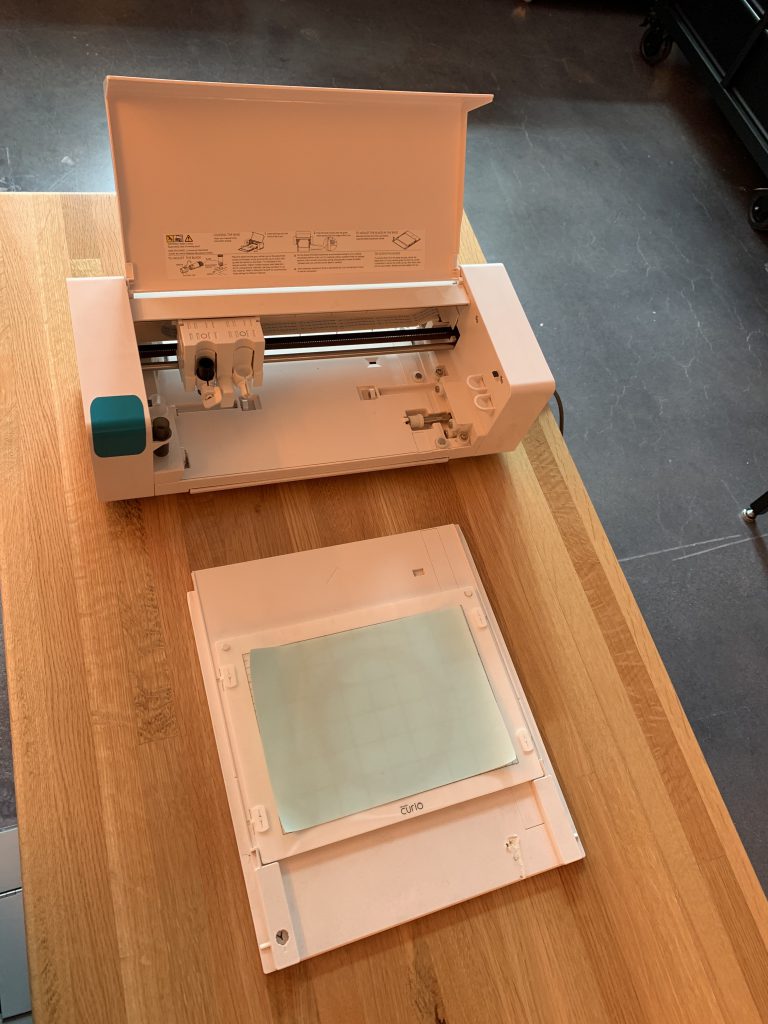
  • Remove tray before powering on
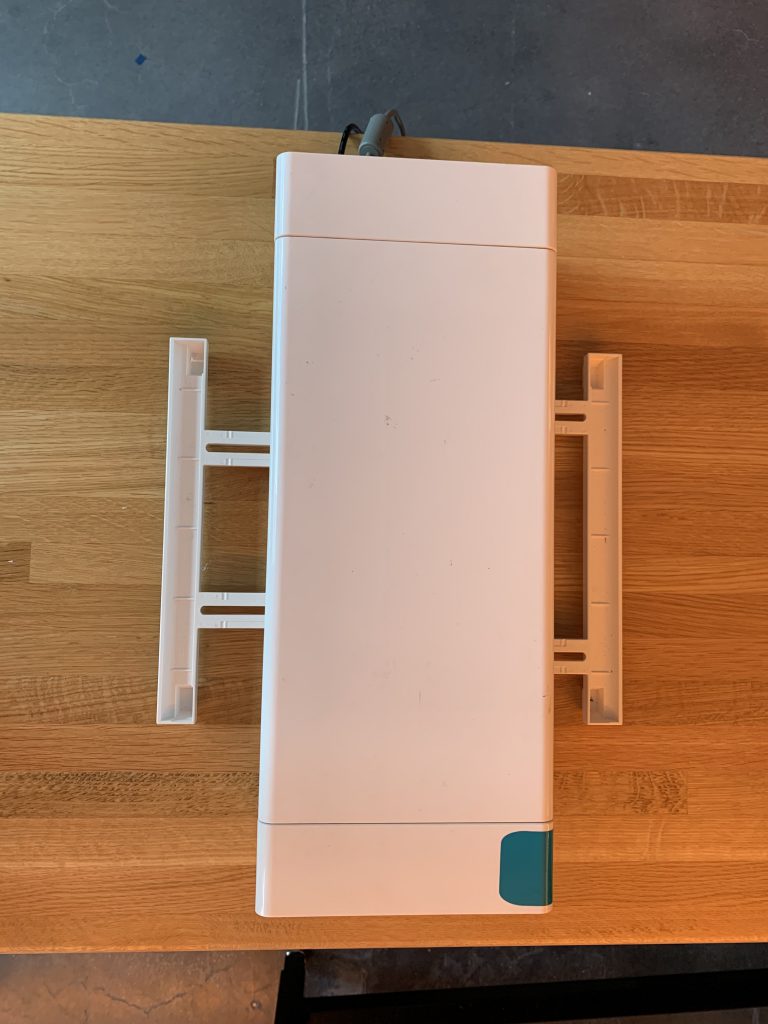
  • Extend out the machine’s legs for stability
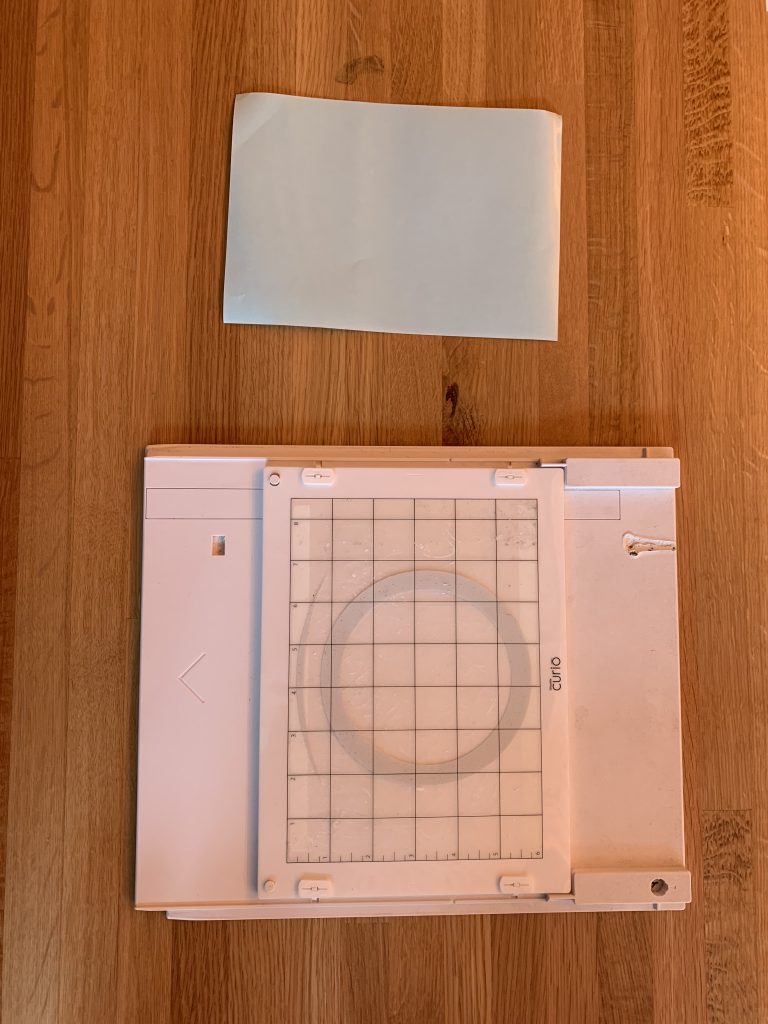
  • Remove the protective film from tray (put back when done)
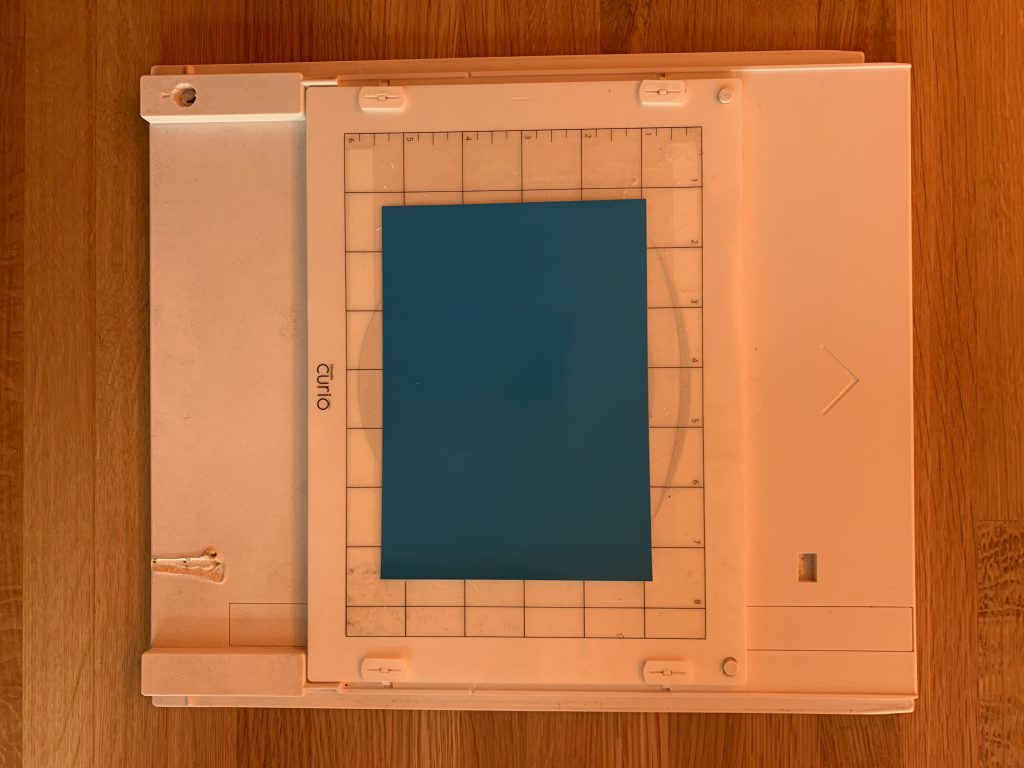
  • Place desired cutting material on tray, then slide into machine (powered off)
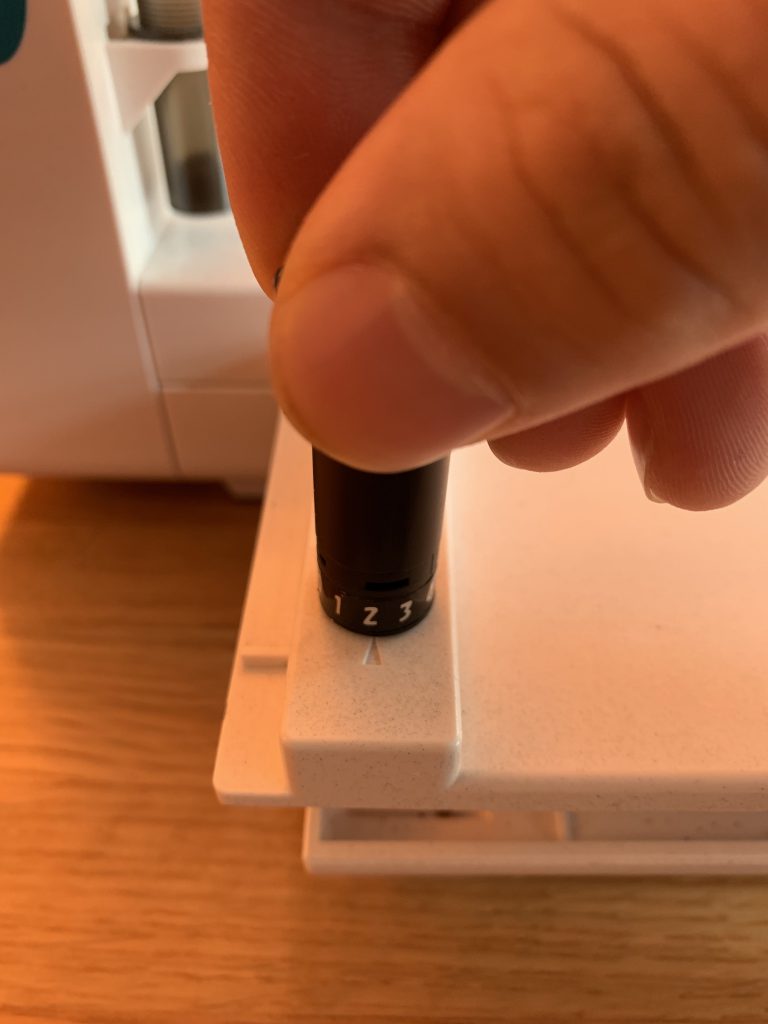
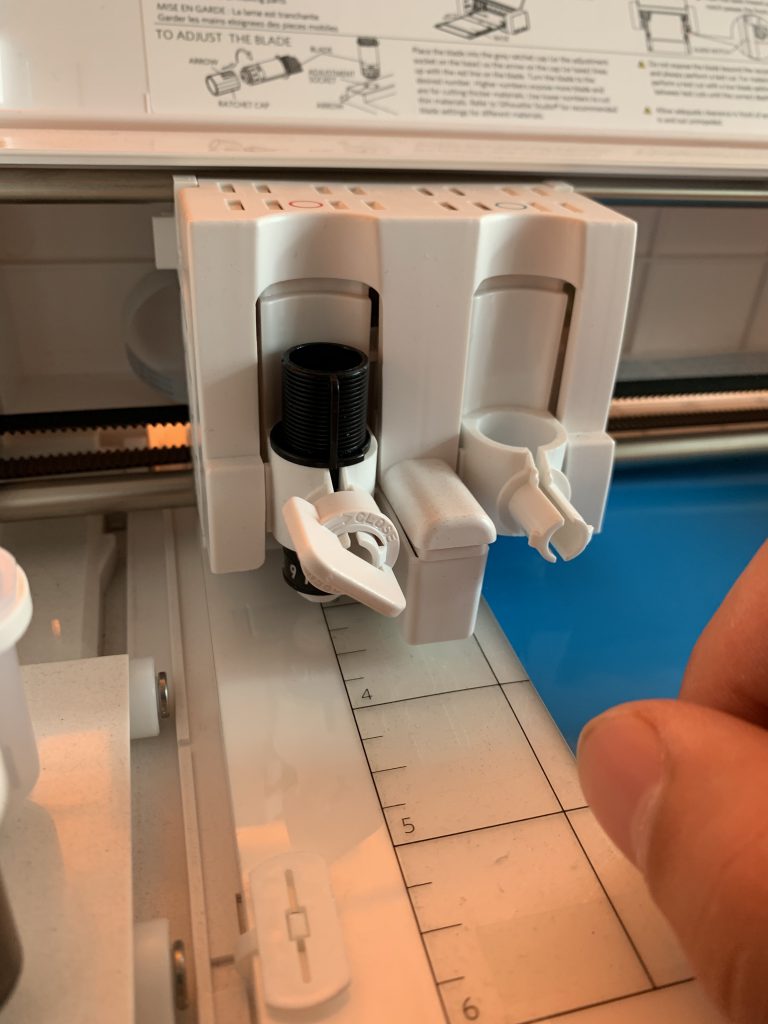
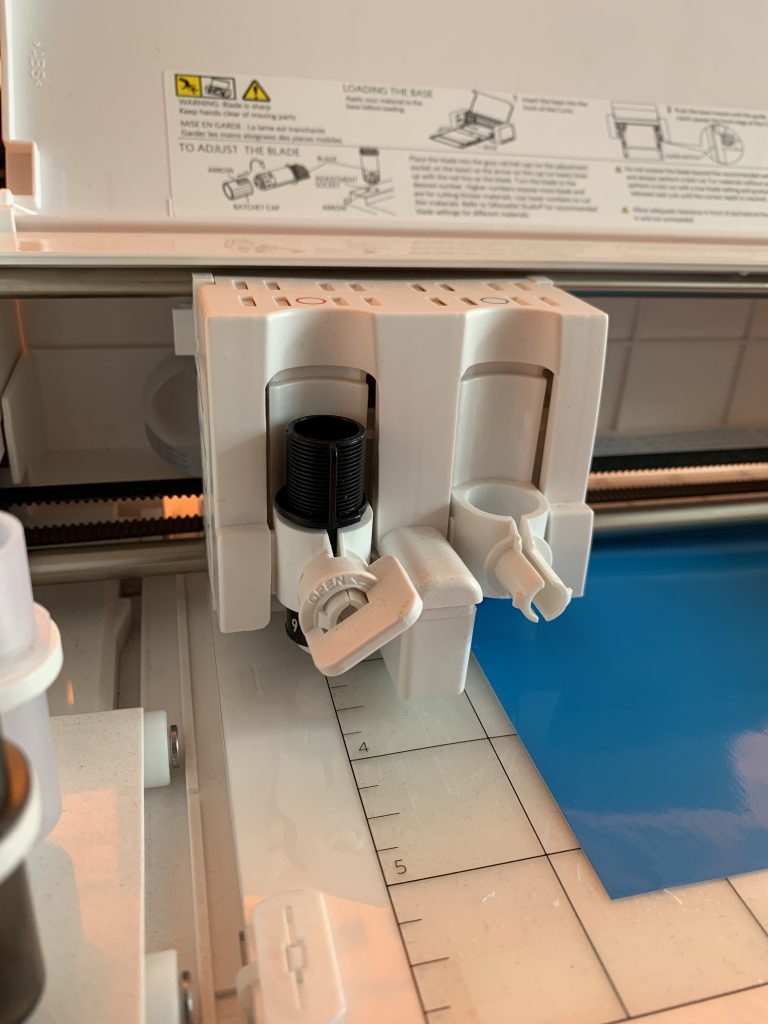
  • Within the machine, twist the lock and remove the blade in order to adjust it
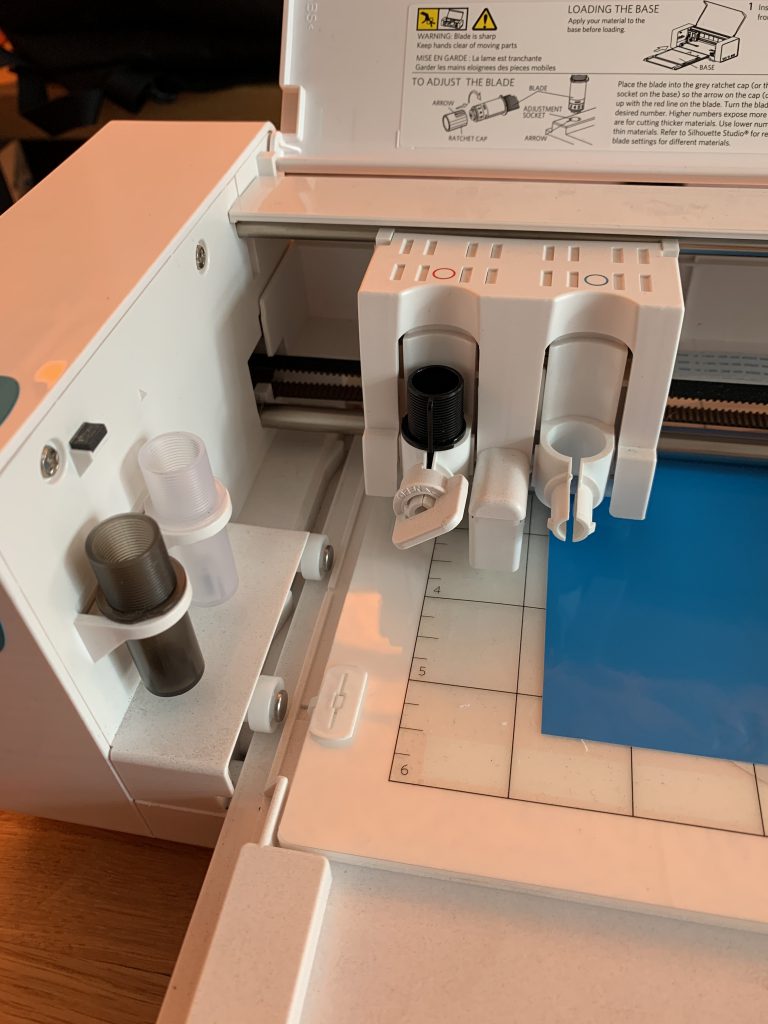
  • Align red marking with arrow and twist to desired blade size
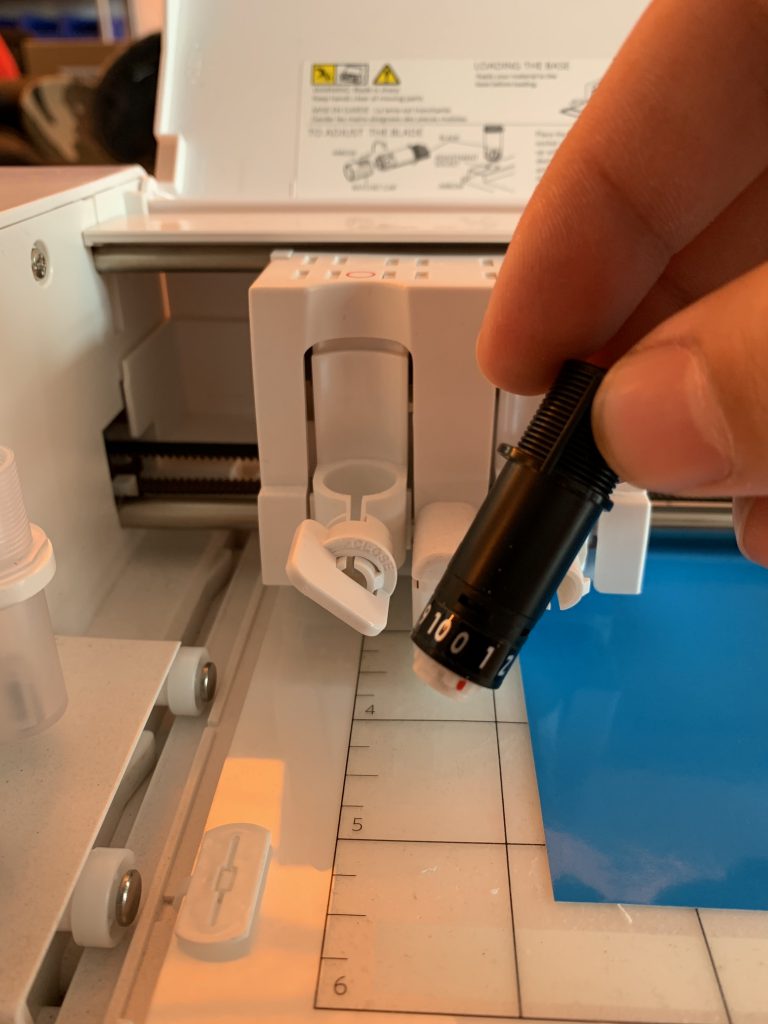
  • Put blade back in place and twist the lock
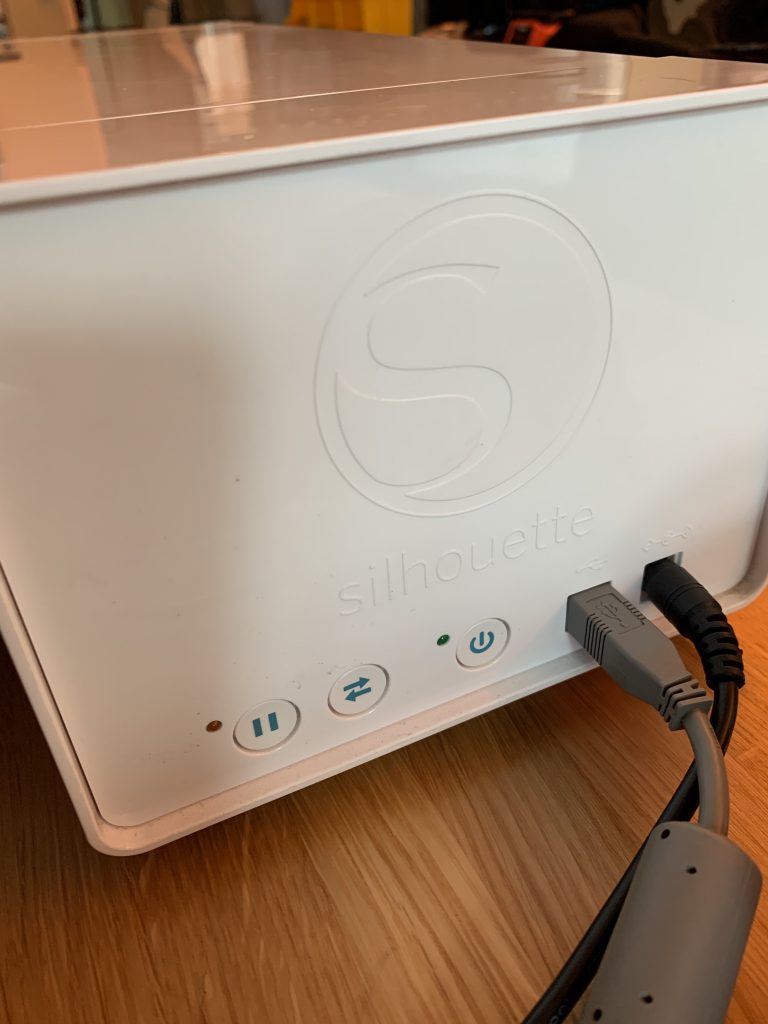
  • Power on Silhouette and plug into your computer
  • Notice the button with arrows, to the left of the power button – once pressed, this button allows you to remove (and insert) the tray while the machine is powered on.
SOFTWARE PROCESS

  • Make sure the machine is plugged in to both a power outlet and your computer.
  • Open Silhouette Studio.
  • Import your design and/or make one in the program.
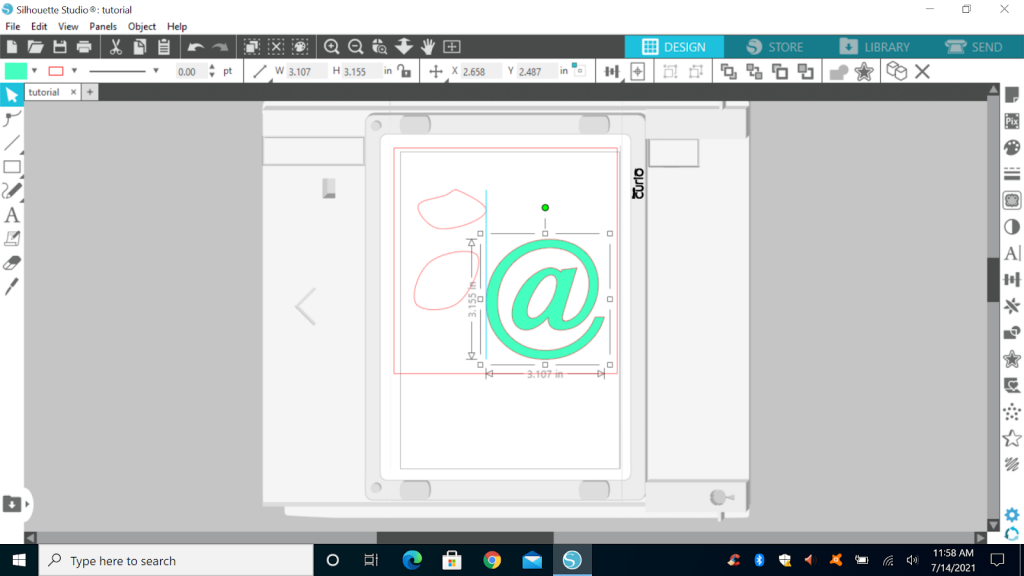
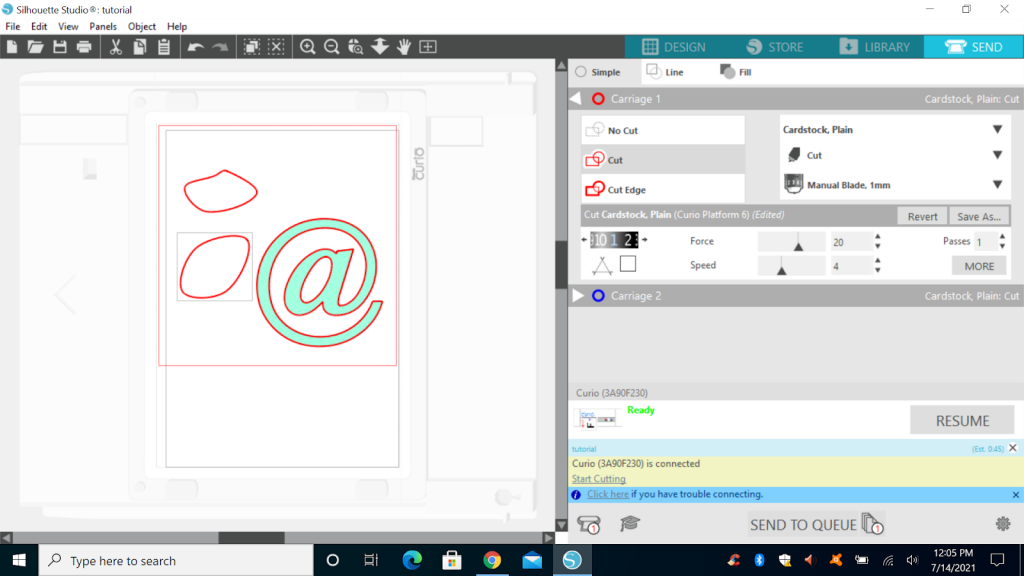
  1. Make sure the material is aligned on the printing grid.
  2. Either click “Send to Silhouette” under the File tab or click “Send” on the top right where “Library” and “Store” is. The latter will let you customize the options.
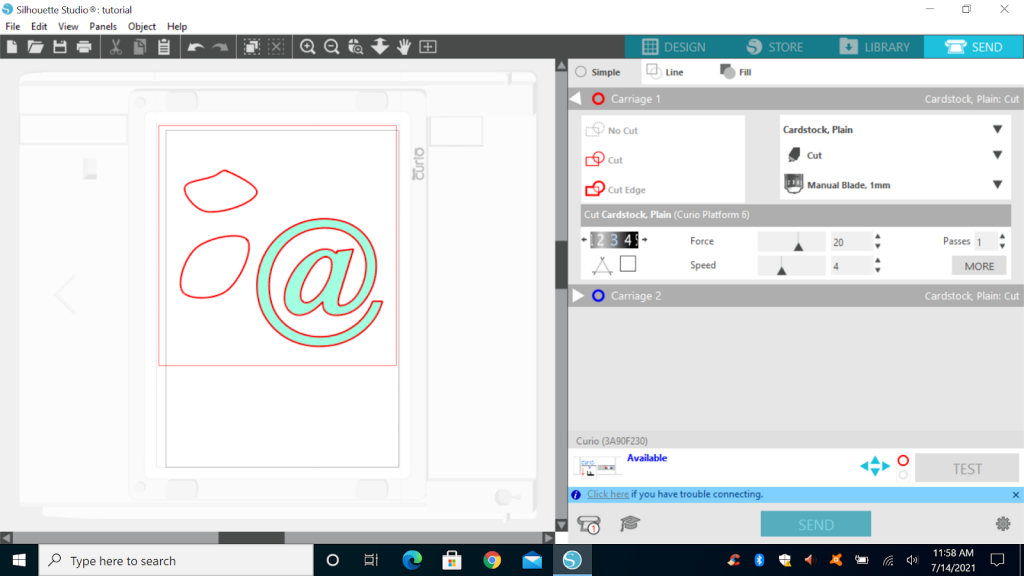
  • When the cutter is “Ready to cut”, click it and watch the magic happen!
How To Use The Ultimaker 2

This is a beginner tutorial for people who have never used the Ultimaker 2 before. This step-by-step will guide you in creating your first Ultimaker 2-made items!
LOCATION

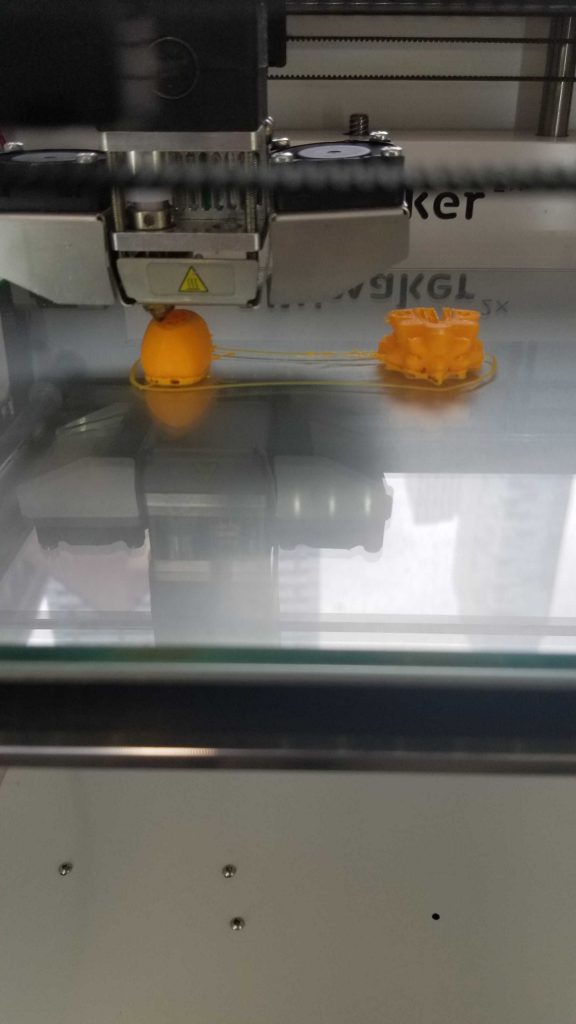
The Prototyping Lab at IDM (Room 337) offers three Ultimaker 2s for use. The smallest, the Ultimaker 2 Go, is located inside the lab and is only available during lab hours. The two larger machines are located in the annex just outside, to the right of the lab, and can be used any time.

SAFETY

To use the Ultimaker 2 the first step is attend a Proto Lab safety training.

Whenever using the Ultimaker 2 make sure to interact with the machine carefully. The nozzle and build plate operate at high temperatures.

MATERIALS AND SUPPLIES

Materials are available for use in the Proto Lab.
2.85 mm PLA material should be set up in the machine already, if you wish to change the color ask the Proto Lap TA for assistance.

SD cards are inserted in the front of the printers and can be used. Card readers are also available at the Ultimaker stations.

PROCESS

(SOFTWARE PROCESS:)

Step 1: Export your CAD / 3D design over to Cura by clicking “Open File.” It must be in an .STL, .3MF, or .OBJ file format.

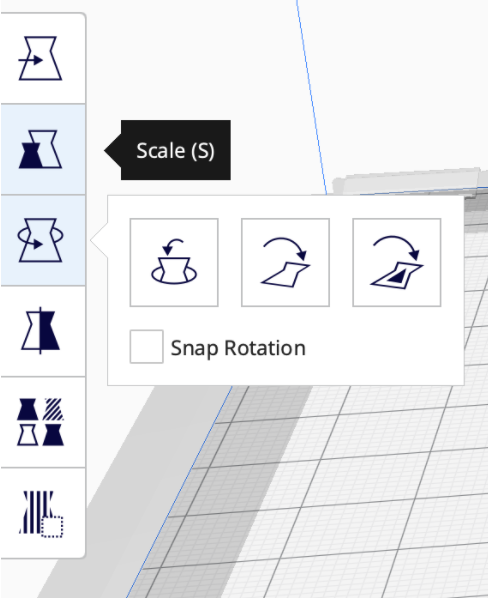
Step 2: Your design should be visible in the program. There are several options to adjust its positioning, including mirroring, scaling, and rotating. 

Step 3: On the sidebar to the right, make sure the Ultimaker printer is matched with the one you desire to use. If your desired printer does not appear, you can add it.

Step 4: Select the nozzle and material you wish to use. Make sure they are aligned with the nozzle and material present in the printer.

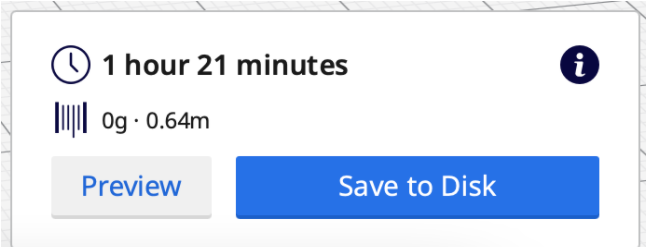
Step 5: Select a print speed. The quality and speed of the product are inversely proportional; the longer the printing time takes, the more detailed your object will be.

Step 6: Select “Generate Support” if your object has overhanging parts that could collapse mid-build. Select “Build Plate Adhesion” to generate a flat rim around the product that can be easily trimmed off.

Step 7: Slice then save to either Removable Drive if using an SD Card, or File if printing wirelessly.

(PRINTING PROCESS:)

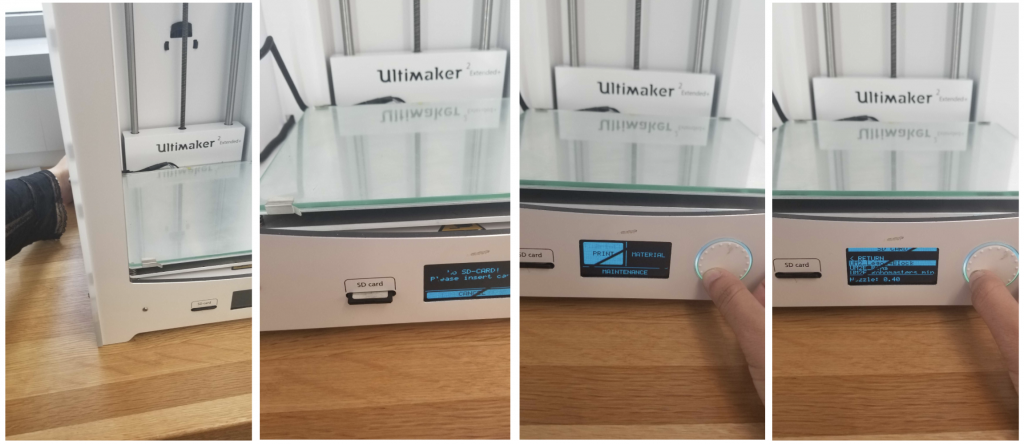
Step 8: Head over to the Printer. Turn it on, insert your SD Card, and select “Print.” Select your file, and watch the first 5 layers. It will take approximately 10 minutes; here is where the print malfunctions most.

Step 9: Once you are certain your print will continue with minimal problems, you can leave. In the MakerSpace, you can print during the day for up to 4 hours. Any more, and it must be printed overnight.

If you decide to leave while your print is in process, please leave a sticky note on the front of the machine with your name, email address, and estimated print time.

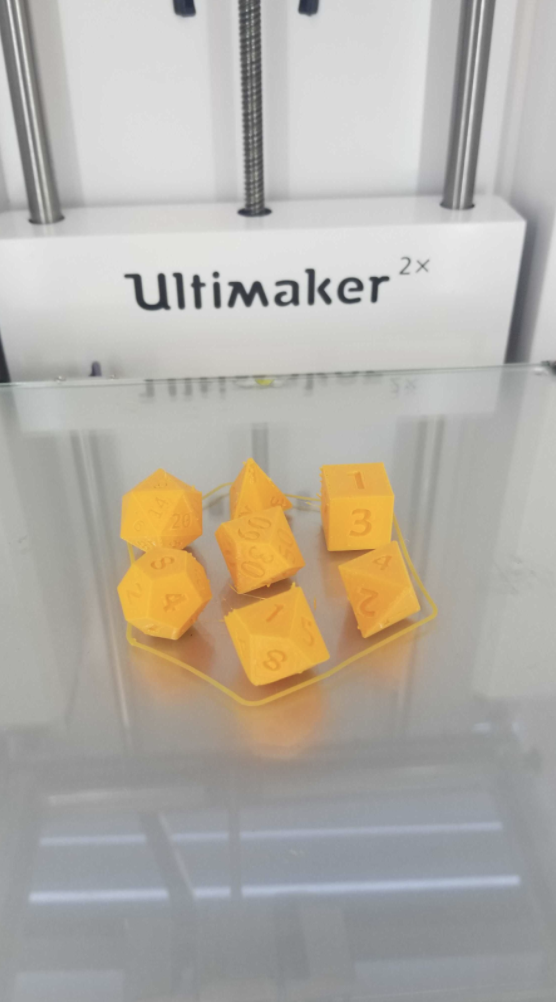
Step 10: Once printing’s over, remove it from the printer, shave off the adhesion if there is any, and enjoy!

GALLERY

Prototyping Library: Form 3D Resin Printer

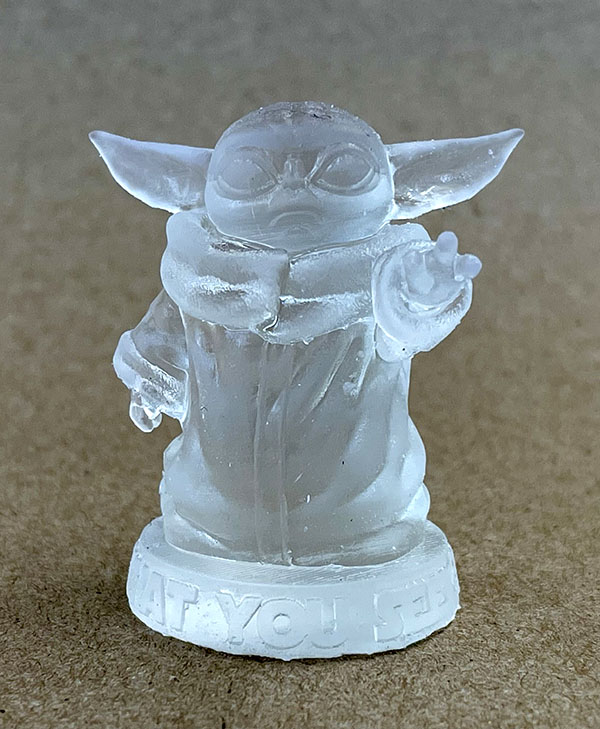
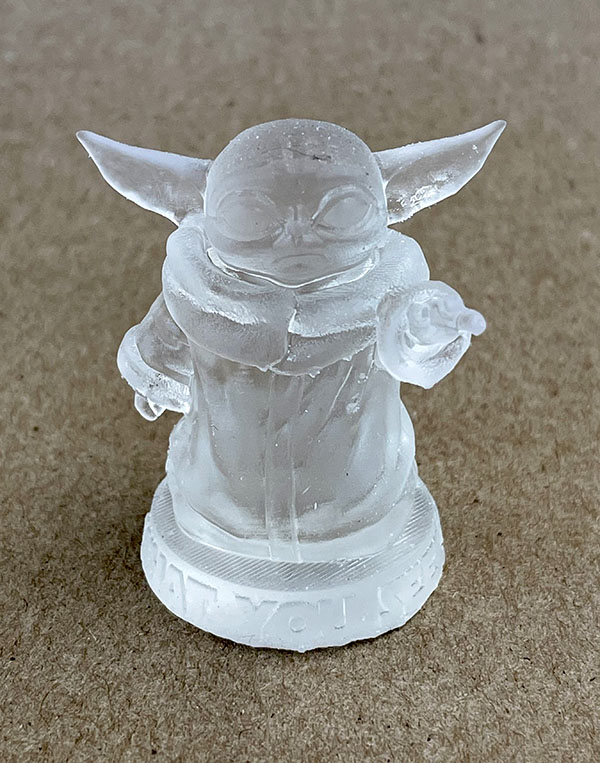
The Form 2 SLA Printer from FormLabs is great for creating highly detailed resin prints. If you want to use the Form in the ProtoLab you will need Preform, FormLabs slicing software – you will also need to be trained, and have supervision as the machine needs regular maintenance and attention.

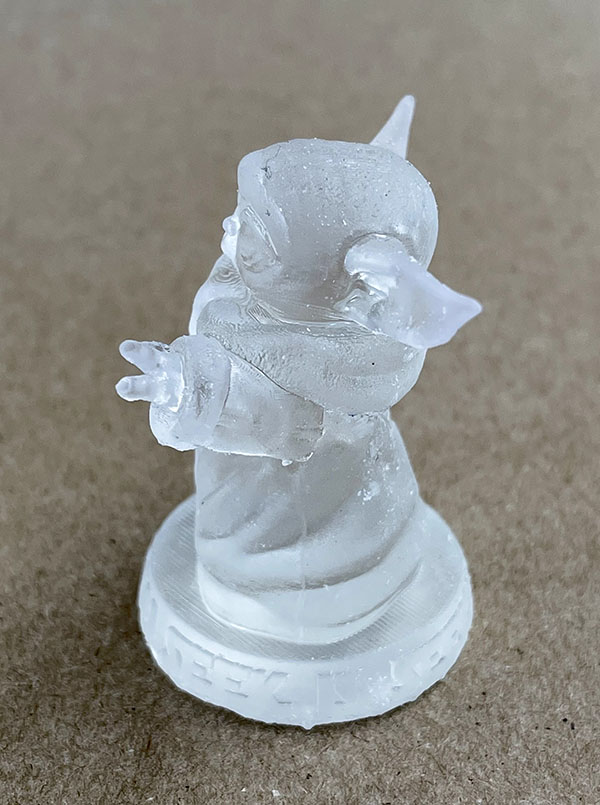
This Baby Yoda figurine is an example of the fidelity you can expect. It was printed on the Form 2 using clear resin. Here is a link to the thing file MarVin_Miniatures

If you want to get a better sense for how this looks and feels in person, this print along with all of our other examples are available in the ProtoLab during lab hours.

Prototyping Library: Moving Parts 3

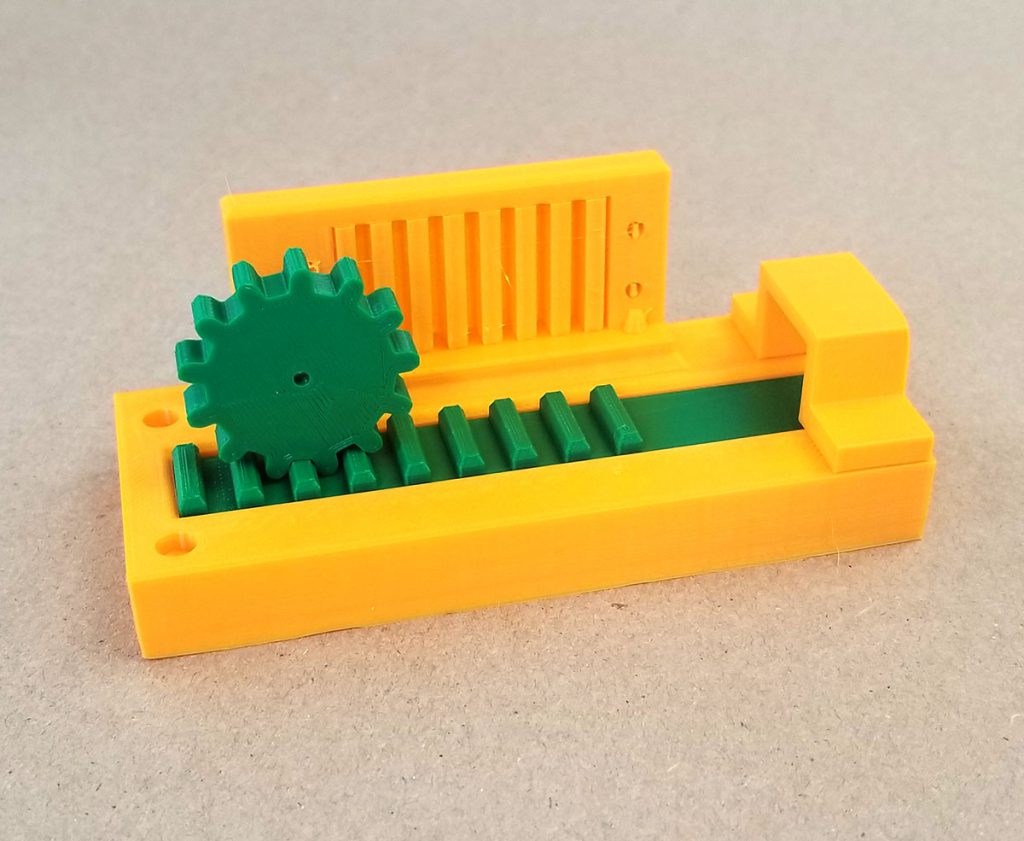
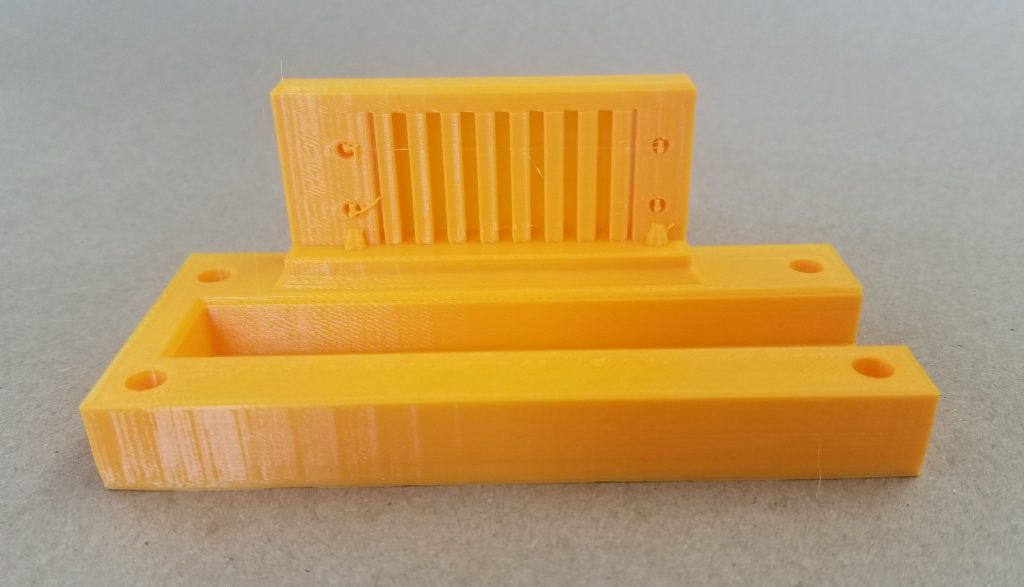
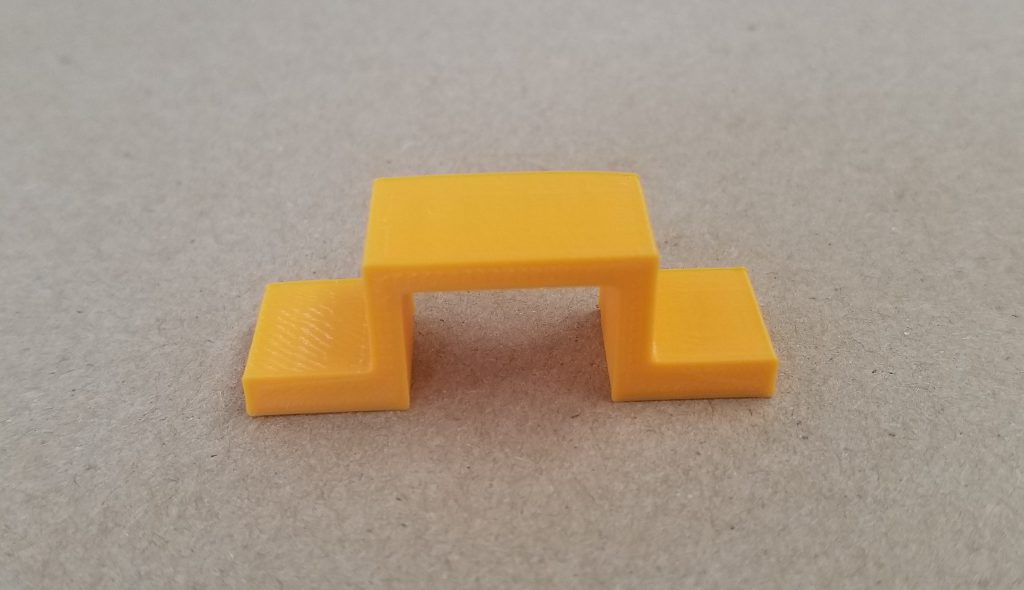
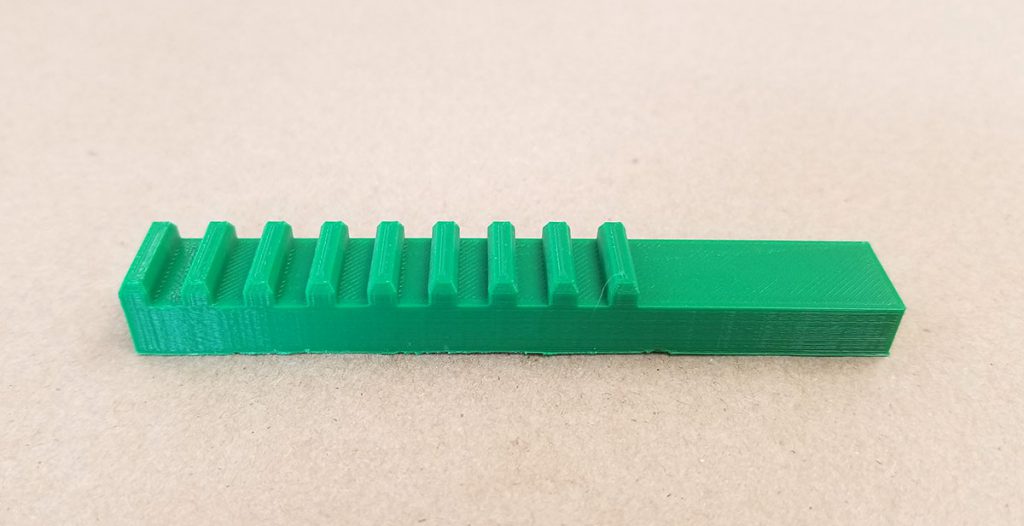
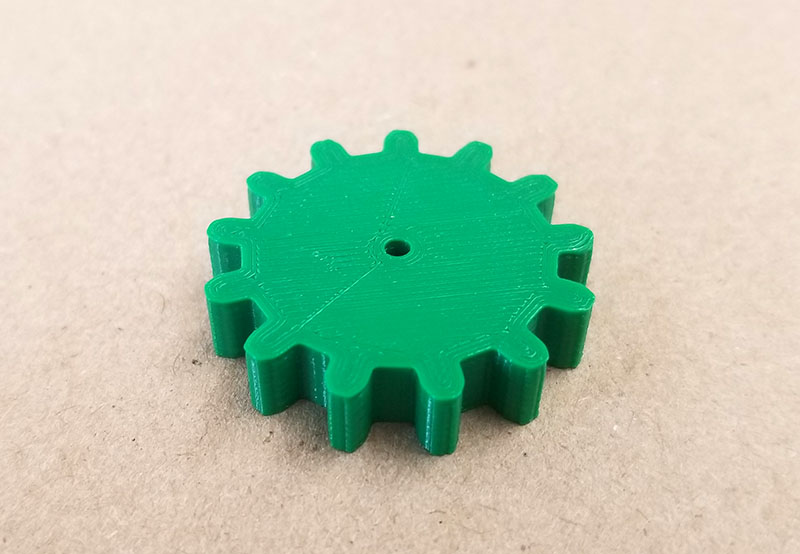
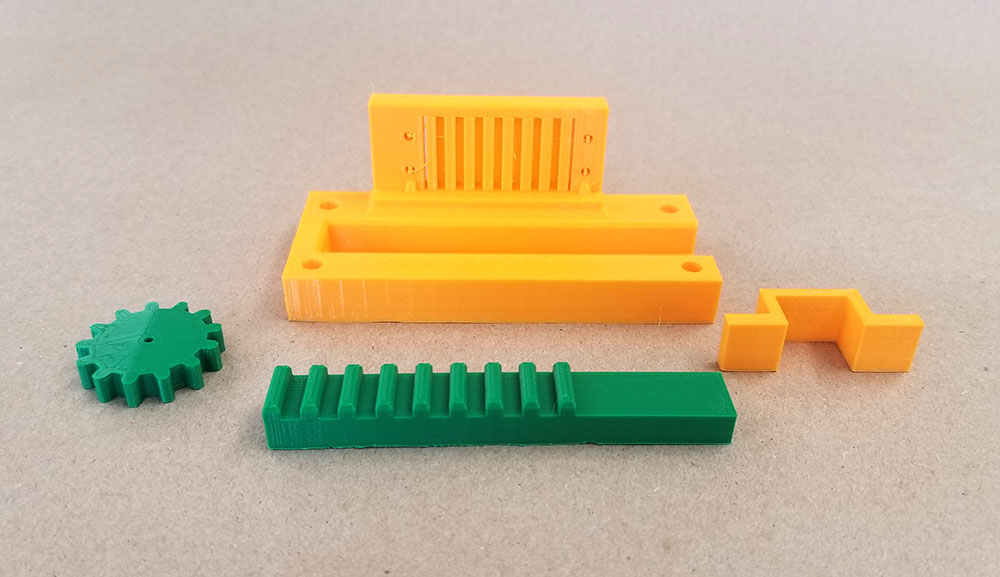
This is a combination of two areas of focus up to this point – that being mounts for servo motors, and moving parts prints. This motorized door lock, is a multi part print designed to be combined with a servo, and was made using our two larger Ultimaker 2s.

Here is a link to the thing file designed by IamTekNik

Fully assembled
Motor holder (servo area yet to be cut out)
Rack holder
Gear rack
Gear
Pre-assembly

If you want to see and feel how this print or any others we’ve made looks in person all of these examples are available to play with and are located on the shelves just opposite of the ProtoLab.

Prototyping Library: Moving Parts 2

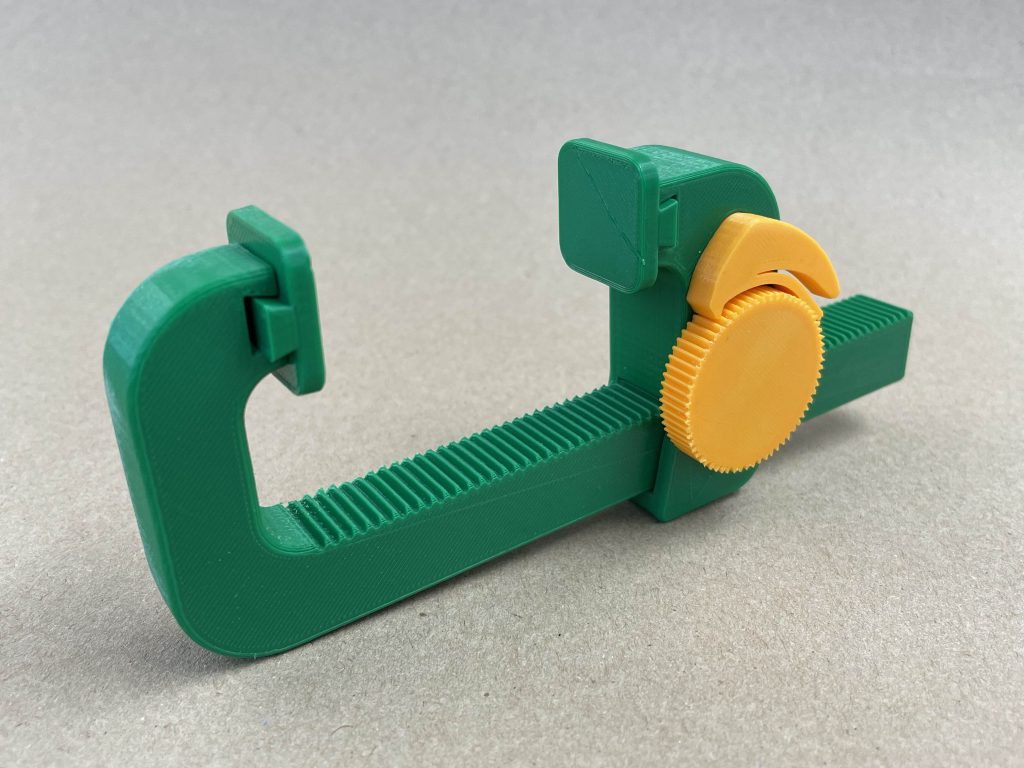
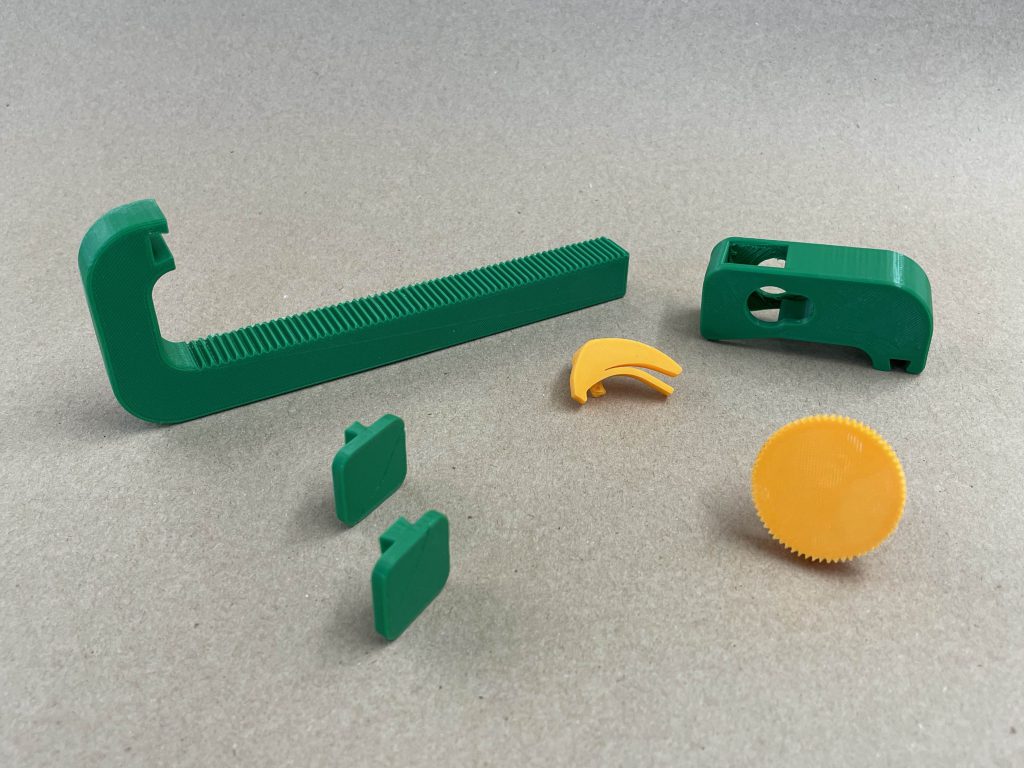
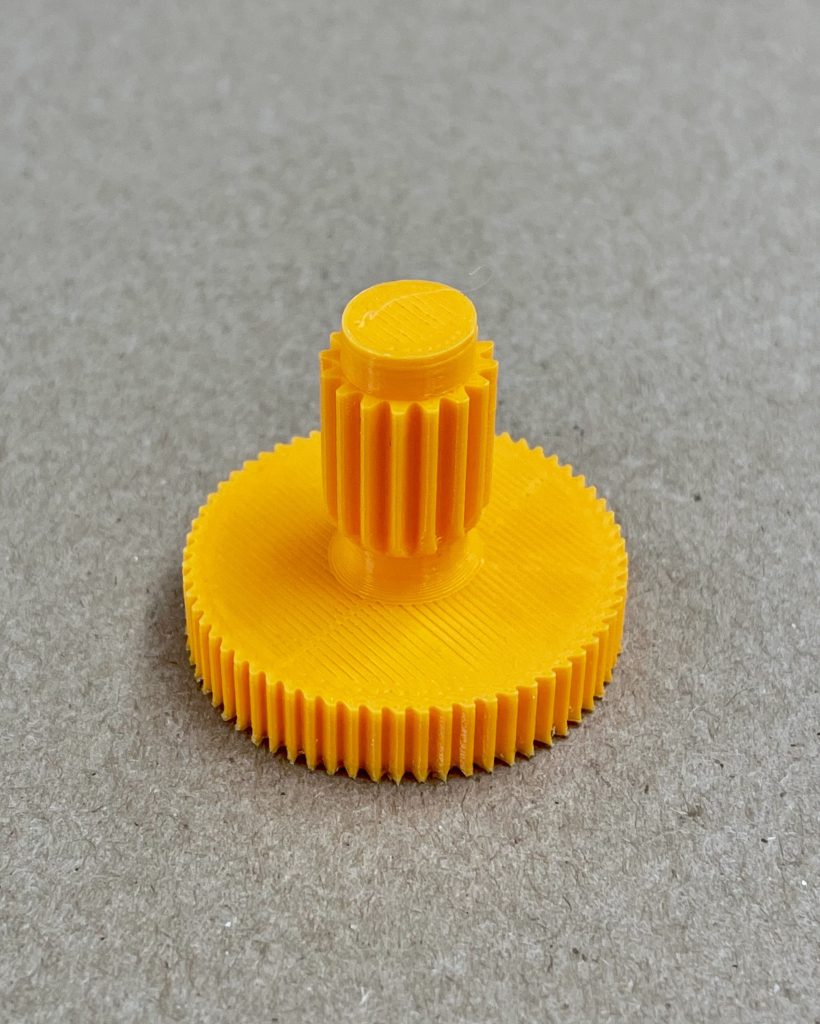
We wanted to show an example of a slightly more complex print, with moving and interlocking parts, this time a multi part print – specifically 6 parts, from 5 files. The clamp was printed using both Ultimakers with different colors of PLA.

Here is a link to the thing file by LoboCNC

Fully assembled clamp. It works!
Individual printed parts (two pads).
Detail of the gear

All of the example prints you see here can be seen and played, and are located on the shelves opposite of the ProtoLab.

Prototyping Library: Moving Parts 1

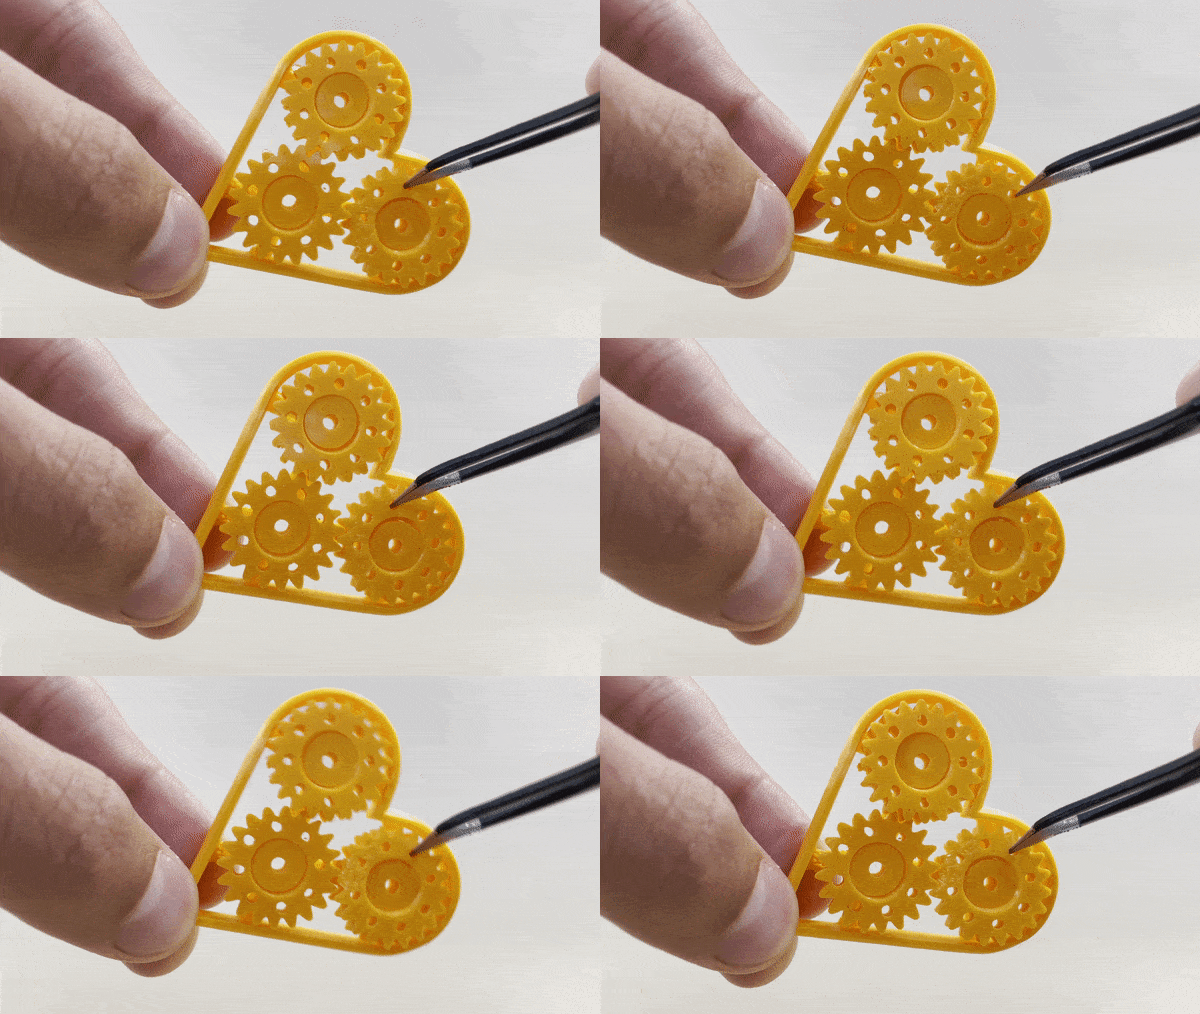
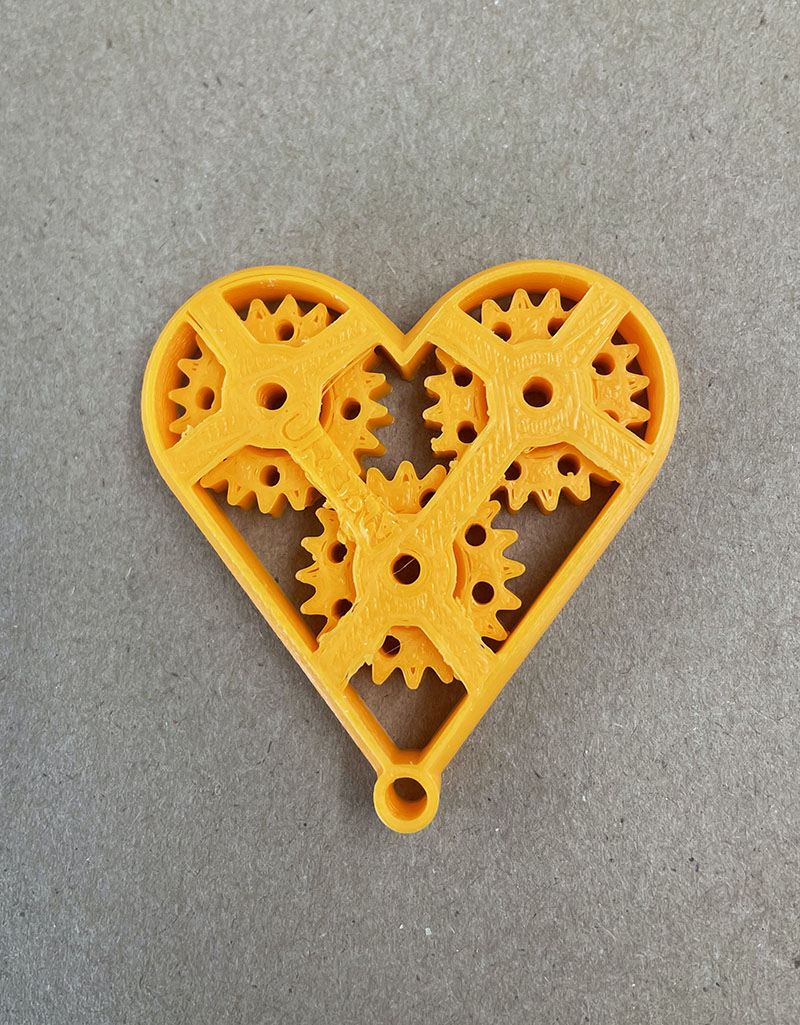
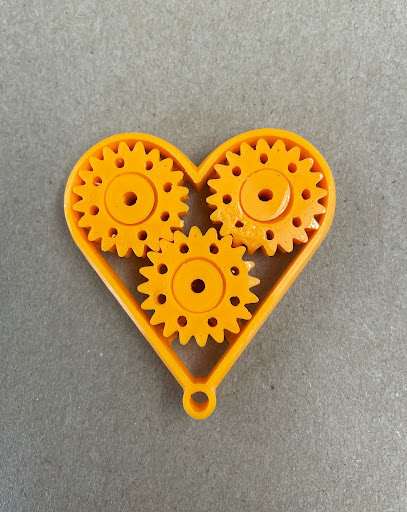
We made some example prints with the purpose of showing how they could include moving and interlocking parts. This heart keychain with rotating gears was done as a single print (all as one object) in PLA on our Ultimaker 2+.

Link to the thing file by UrbanAtWork

If you want to see and feel how this print or any others we’ve made looks in person all of these examples are available to play with and are located on the shelves just opposite of the ProtoLab.

Prototyping Library: Servo Motor Mounts

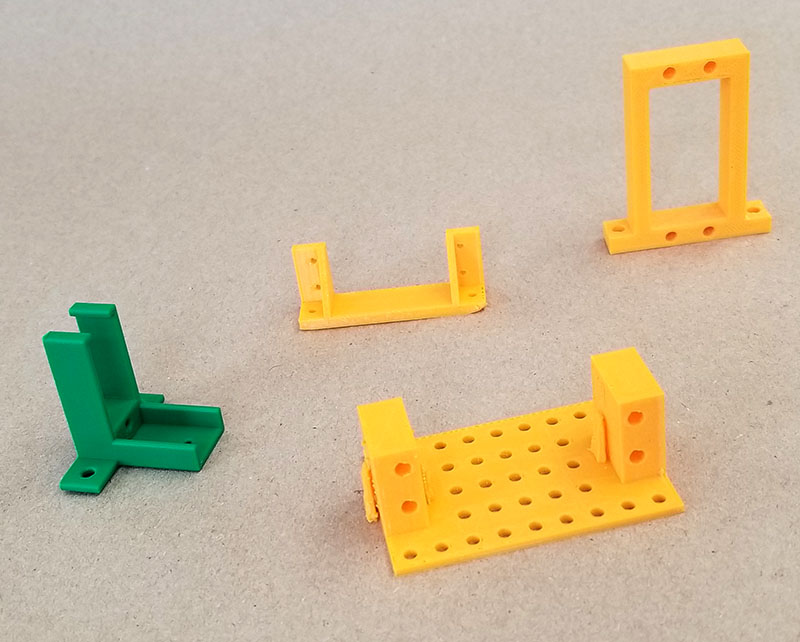
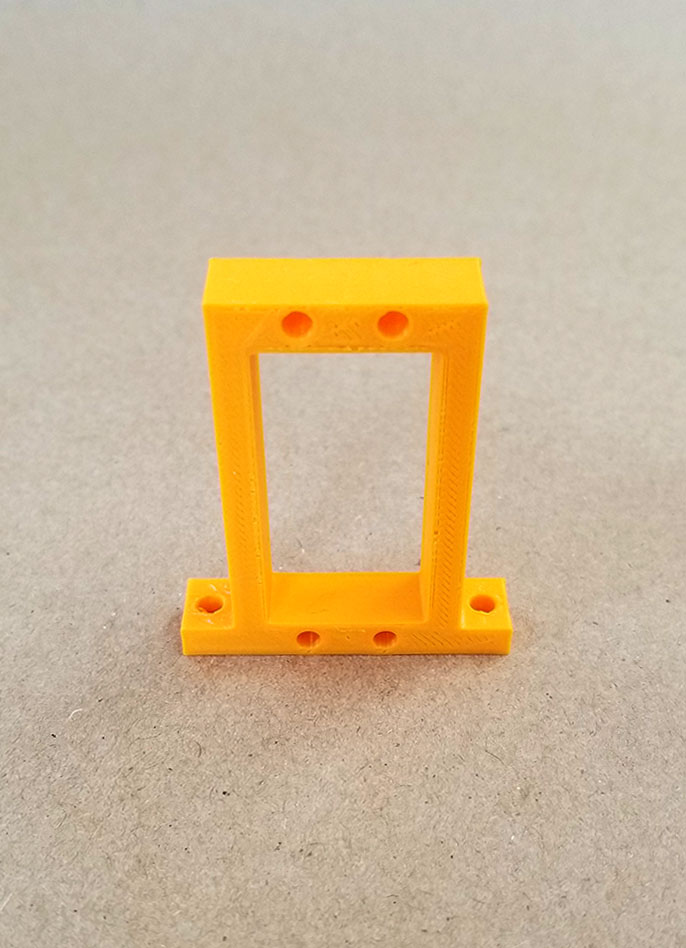
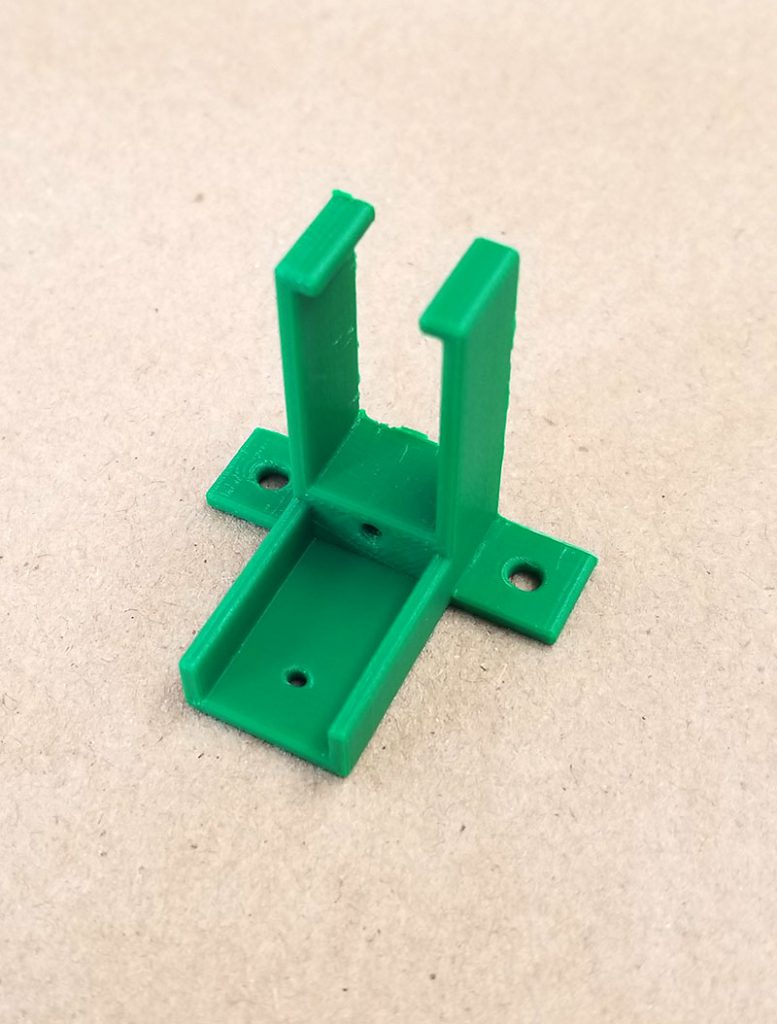
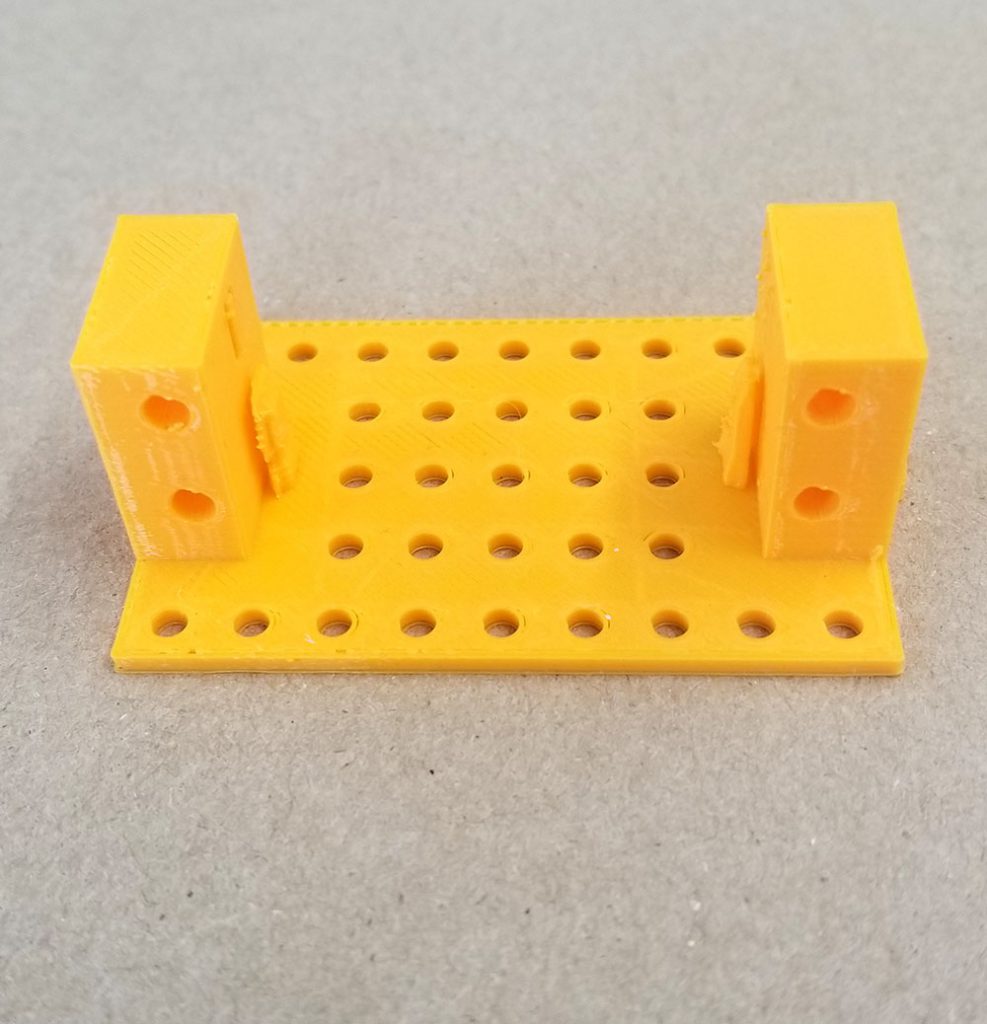
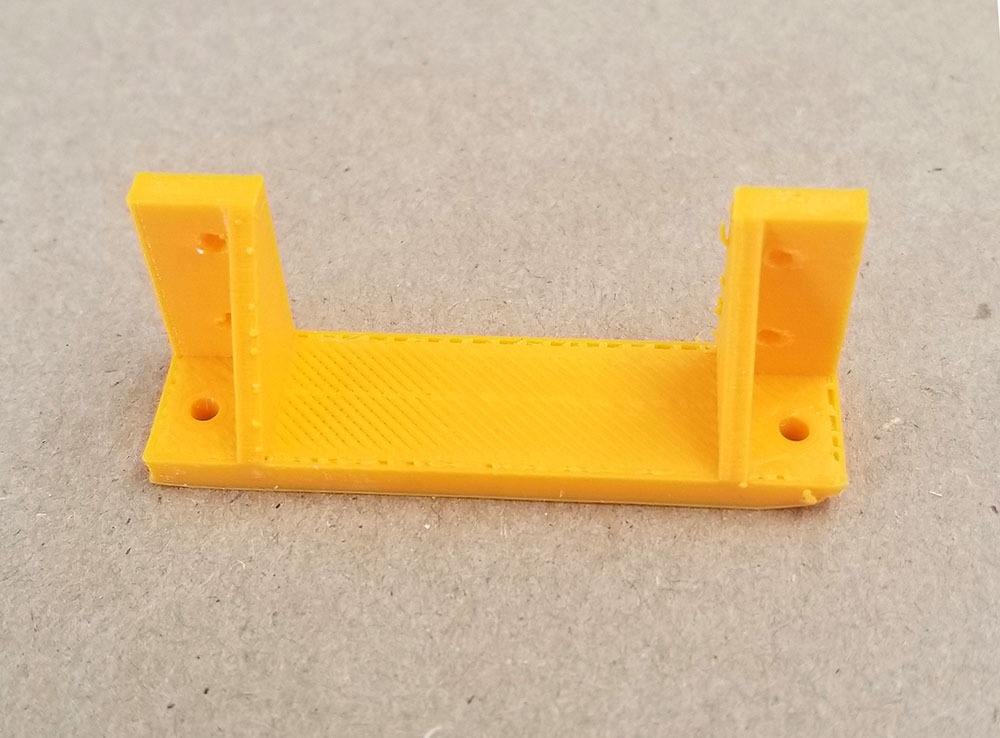
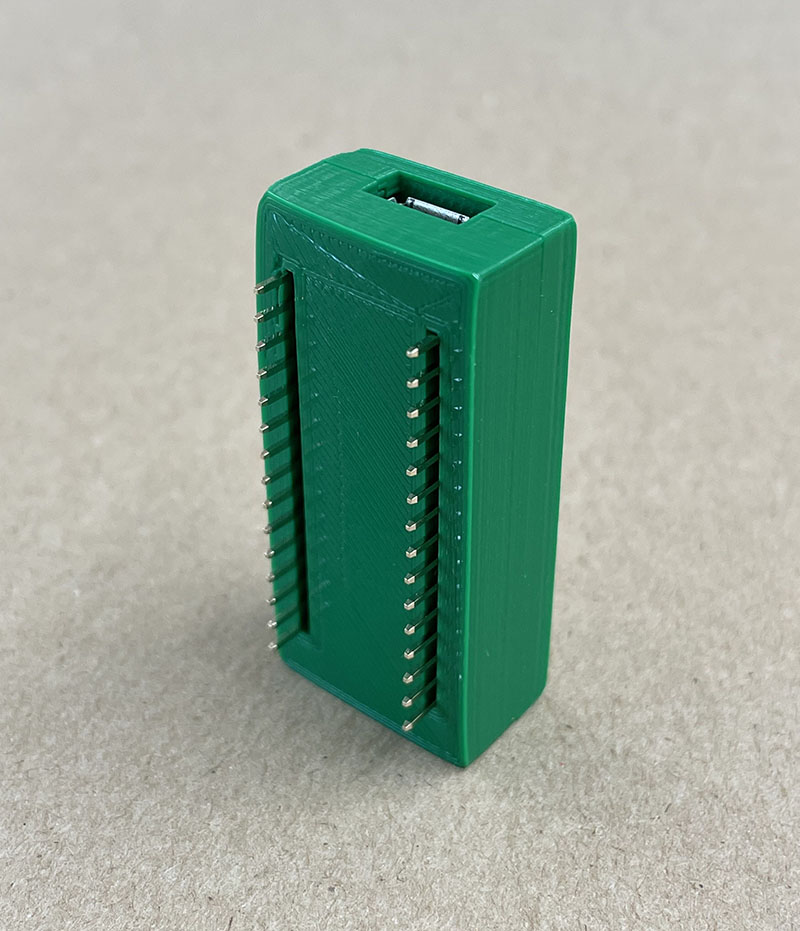
We made a variety of example servo mounts that were and can be printed using any of our Ultimaker 3d printers. All of the source files are included below.

  1. Below in in orange PLA we printed a servo mount by Hoeken – link to file at Thingiverse

2. Below in green PLA is a sub micro servo mount by Milhooz – link to the file at Thingiverse

3. Below in orange PLA is a standard servo mount by Wayne91 – link to the thing file

4. In orange PLA is a simple servo bracket by cokezero – link to the thing file

All of these servo mount examples are on the shelves opposite the ProtoLab, you can get a sense for how they feel and look in person. Also you may be interested in this post of a servo motorized door lock that we made.